Here's what it looks like so far with the night lighting.

Note there are no roof sections on the buildings. This is because there won't be any views that will show the tops of the buildings.

UPDATE:
More updates. Been texturing up the street more. Including adding light that is emitted from some windows.
MENTAL RAY SKY BOX

Default lighting settings, like a Noon lighting.

Changing the intensity of the light from 1 to .5


Cinematic night - A blue tint to the "night" setting.

Initial light and splash

Altered light and splash

Changed the colour of light and added it to more windows.

Darkened the windows that aren't lit up.

Road texture added with bump map. The cracks in the road are added just to give the street a "lived in feel" before I add real damage

Path with bump map. I didn't like the bump on this, so I went back into Photoshop and edited the image to only have the bump on the seams between the tiles.

Fixed bump map, with curb texture and bump
UPDATE!
Boolean in Maya is a nightmare. Pure and simple, avoid if possible. I had to find some work arounds to allow me to use it, but I got there in the end, but my, what a pain it was.

The smashed buildings have a burn effect added in Photoshop to the texture, so it looks like it's been blown apart, not just collapsing. I sank the roof and ceiling, like I had seen in the reference photos from an earthquake. The piles of rubble are inspired by Fallout 3.
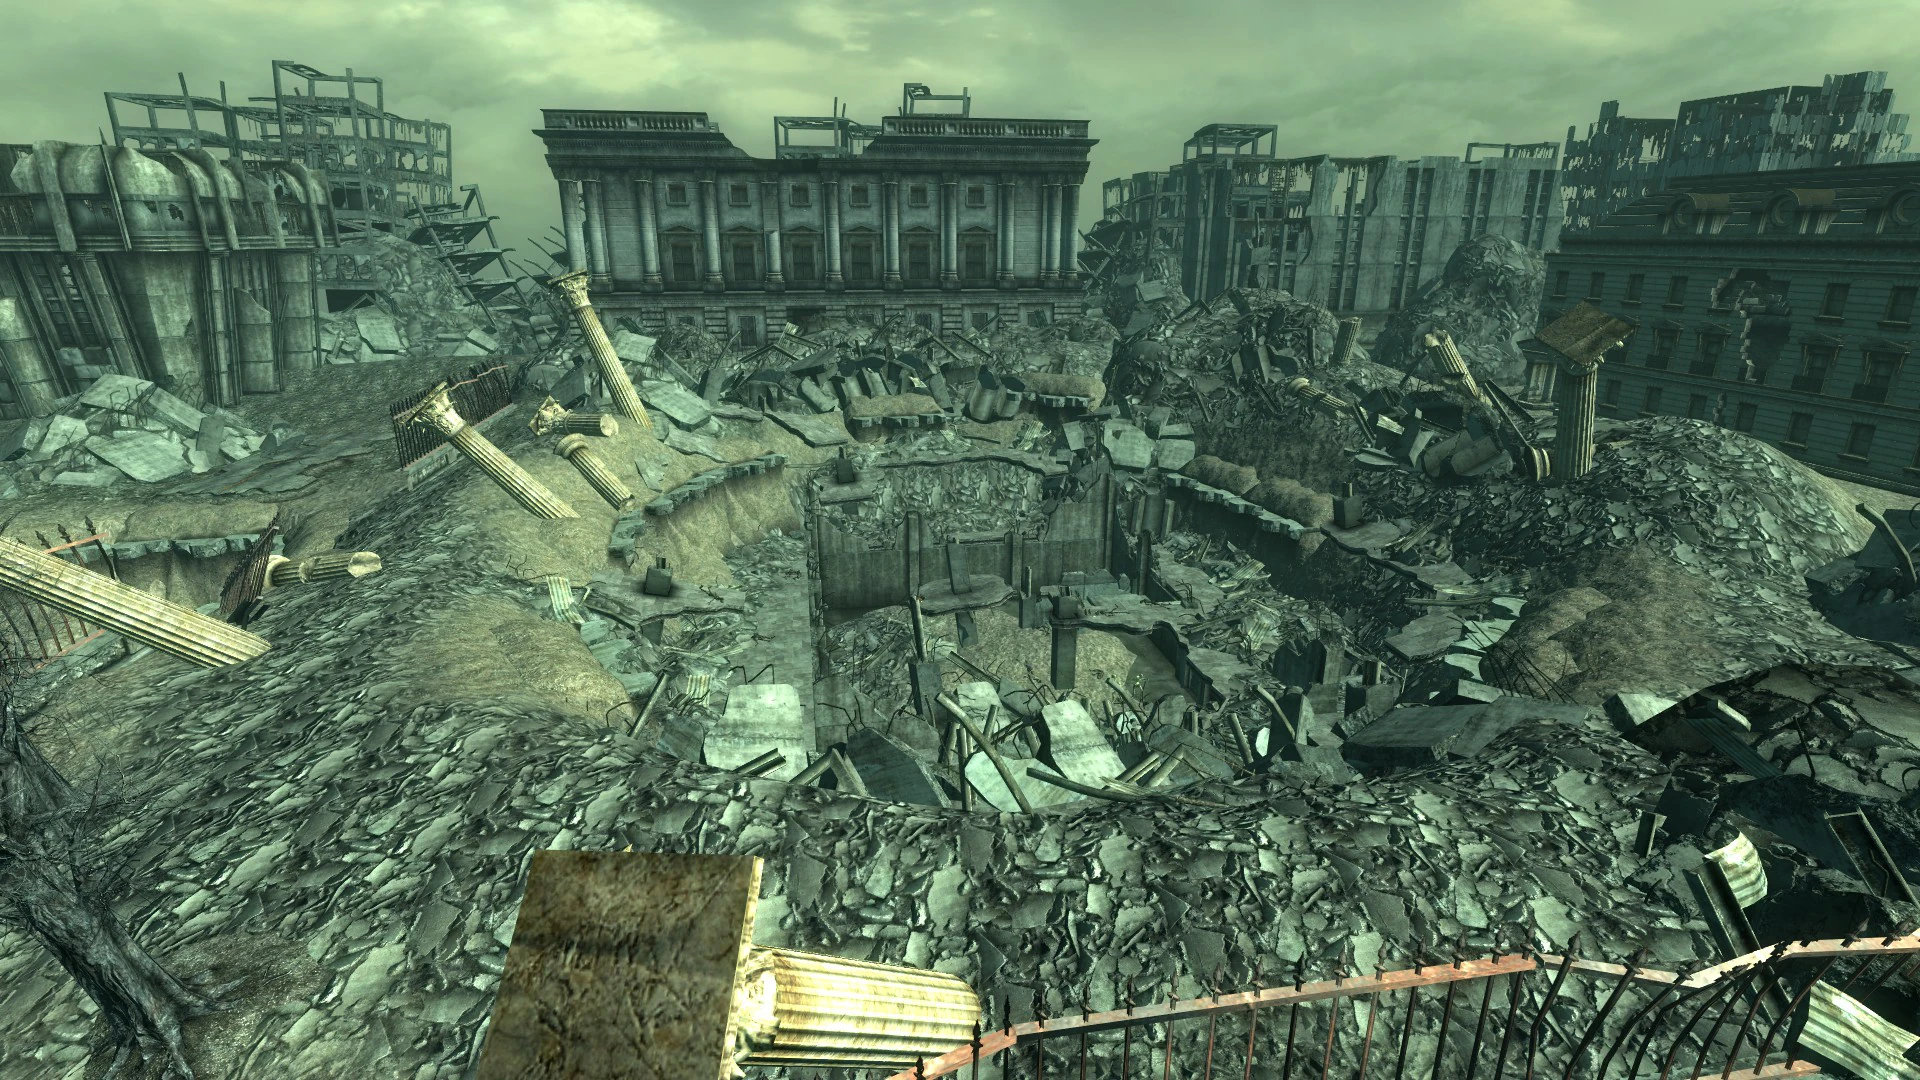
The rubble is a plane that has it's vertices edited to give it bumps and ridges, then the texture applied. I also added a bump map, then had geometry sticking out of the rubble to give it a more realistic feel.

Added street lights. I decided to use the Bollard style lights rather than the overhead lights.
This was for two reasons, I couldn't get the light splash to look right at such a height and also, the bollard lights I've seen in residential areas in more modern housing areas and they look nice, give a lower light, but still enough to be able to see when walking.

No comments:
Post a Comment