Tuesday 25 February 2014

L5 CANIM - Performance Capture - Storyboarding WIP

Been working on the Storyboard for the 30 second Mocap/Keyframe interaction piece. For what I've got planned, I've ran it through in my head and it goes for just over 30 seconds. The main dance portion is 15 seconds!

I'm basing the dance from the Sophie Ellis-Bextor video for Murder On The Dancefloor, http://www.youtube.com/watch?v=BsISfQAXE60
The gentleman is going to be Keyframed and the female shall be Motion Capture data.
The initial setup for the dance is going to be in one take. The dance moves themselves shall be broken down into separate takes which I will piece together in Autodesk Motionbuilder.
The cup at the start will be a prop with a constraint, so that the female can hold it and drop it when needed.
I have learned to do this in a tutorial session where a model throws a hand grenade. I will be uploading a render of that soon.
I would like to have another interaction with a prop, but not sure where I can do that. Possibly extend the end of the piece and the female returns to the Refreshment table (from the start) and takes another drink?
I could then have extended the piece to maybe 40 seconds. The keyframe character would just watch as the female walks past him, leaving him behind.

Tomorrow I will be working a little more on the Storyboarding. On Thursday I will need to see my tutor, as I'm having an issue with cleaning up some Mocap data. It isn't allowing me to keyframe out mistakes! I will also be asking if the final piece will allow me to use cameras as my storyboard shows. If I can, the keyframe character will be a little easier to deal with (especially at the start of the clip. I'd be able to avoid animating him walking to the female, leaving more time to clean up data and focus on the keyframes elsewhere)


EDIT, 26/02/14

In the music video, the best example of the dance I will be recreating is in this link,
http://www.youtube.com/watch?feature=player_detailpage&v=Xn_hRh8AGNk#t=158
Time frame 2:38 onwards. There are less people on screen as Sophie was removed her competition through dirty tactics. Though the dance is relatively simple, it shows excellent use of arcs with the turning moves and even just the arm movements in the start of the dance.
I'll be drawing out the breakdown of the dance on paper then uploading it on here. The breakdown will be used as reference on the storyboard, but also for myself when Mocapping it, and the keyframe side of things for the other character.


Quick breakdown sketches of the dance moves performed in the video.Both the male and female characters do the same moves

EDIT, 22/03/14

Just about to upload my Performance Capture Wk7 Upload to Xstream now, so thought I'd share my finished Storyboards now.


Monday 24 February 2014

Saturday 22 February 2014

Muscle Rigging - Week 3

We have been looking at adding muscle rigs to the meshes. It is not necessary to fully rig up the zombie rig with muscles, but I will be looking at adding a couple muscles to it. Especially to the stomach, so I can emphasise the stomach movements.
To practise, we were given a "Muscle Man" rig.

I took looked around online for some muscle diagrams.
This image is from http://anatomy.askthetrainer.com/ - a training and fitness website.

I chose this image for the simple fact it gives you both front and back diagrams. I also went and printed this out to keep on my wall next to the computer so I can see the muscle system with just the turn of my head! A nice tip for everyone.

The muscles are set up with a series of clicks from the MuscleStrand option, under CAT Objects.

Under the modify tab, there are options for editing the muscle. I have set the muscles to Bones and to allow Squash and Stretch. Squash and Stretch will allow the muscles to flex when they are linked to the CAT rig.

I have named the first muscle Pectoral01, as this will make it easy to keep track of what muscle is what should I need several muscles on the rig. It's a good habit to get in to. 

I placed the muscle over where I needed it to be, in this example, over the chest and leading to the arms/shoulders.

By relaxing the muscle with this setting, I can keep the rig inside the mesh and will allow an impressive flex. I then connected the muscle to the ribcage and the upper arm.

I keyframed some animation, the arm lowers and then raises right up, then back to the starting position. This screencap shows the muscle being stretched.

I also added a second muscle to work as the muscle between the shoulder and the neck, the Trapezoid. 

When the arm was raised too high, the mesh would crumple, like this. I couldn't correct it with weighting, so I lowered the arm in the animation. This sorted it out.

As I had done with the zombie mesh when skinning, I added the muscles to the bone list, then began to edit their weighting. I used the Paint Weighting tool for this as it is a high poly mesh.


This is a render of the muscle rig.


I will want to go back and alter some of the weighting and maybe even the location of the trap muscle slightly. I would also alter the animation slightly, making it more of a Lateral Raise. This would move the pectoral muscle slightly, and the trap much less (unless his form was off, in which case his trap would be being worked more than his lats. Bro, do you even lift?)

To do this, I would be using workout tip videos, like this one by Matty Fusaro who talks you through the yes and no's of Lateral Raises.
http://www.youtube.com/watch?feature=player_detailpage&v=HJG-gvG2N5E#t=177


I wanted to add the Bicep into the rig and have him flex his muscles in the final render.

Sadly, it destroyed the mesh.
It puts me in the mind of the cartoons, where a weak character flexes and his muscle drops down.


The final render with the weighting corrected and bicep removed.

Zombie Rigging - Torso - Arms - Head

Continuing the rigging of the zombie, I moved onto the torso.

I selected the areas around each of the bones and blocked them out. 

The first piece I began cleaning up on the torso was the Belt. This area is a constant width, so I had to keep that in mind with it;s weighting.

The belt is part of the spine bone so it will stay at it's constant width. It only needed a small weight edit.

A closer shot of the belt.

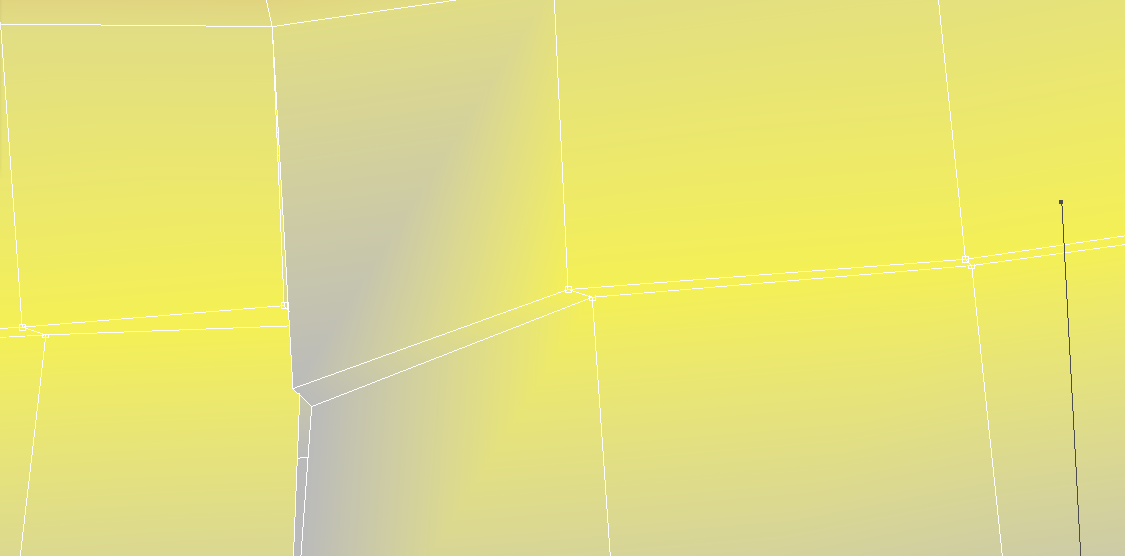
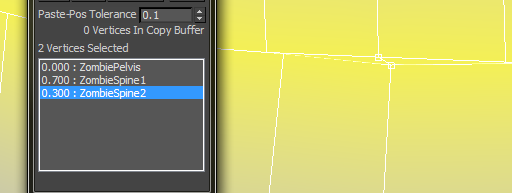
I found a slight error from the welding. It didn't weld it at all. This was a constant thing I had to fix, ensuring that any loops had 30 vertices selected became second nature when working on the torso.

To fix this issue, I just matched the weighting with the rest of the loop.

Blending the torso together finishes off the torso.

The toughest part of this rigging was just the error from the Weld and getting used to the fix I had done.

From here, I moved to the Shoulders, then down the arms.

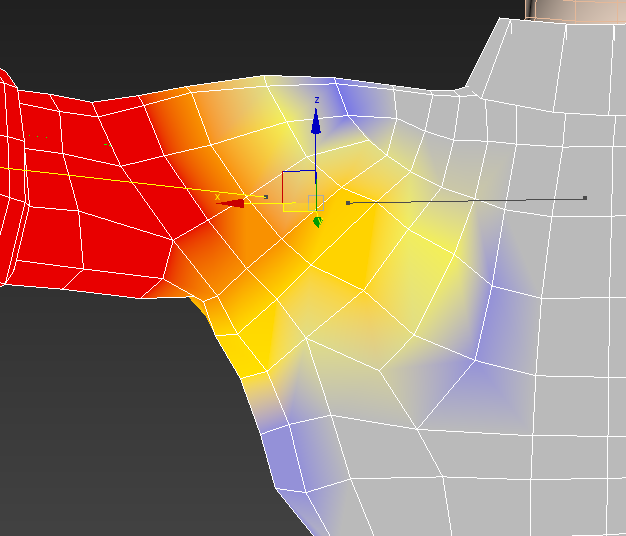
Weighting areas to the Clavicle then blending them to the shoulders is a little tricky to get right just because of the way the shoulder reacts when moving. Starting with a 10% weighting at the neck/collar is where I kicked off.

Blending down the shoulder takes a certain mindset to know you are getting it right. I think I've touched on this before, where as you are working on the areas, they will look NOTHING like how you are wanting it to look until you are finished and it just clicks into place. Once I got my head around that way of thinking, it became easier to do. This shot is a perfect example of it. The big difference in the weighted section and the parts left to edit can be off putting.

Blending the next loop drops the gap down, then moving further down the shoulder, it clicks into place perfectly! 

The basis of the shoulder is weighted. From here I finetune the areas so as to get a smooth transition for the movement.

The underarm area was tricky to nail down. I used my own movements to get this section working properly.


This is the reference footage.

I then moved to the arms.

As always, I block out the areas to start. It makes blending the areas that much easier.


To get the elbow crush correct, I had to trial and error my way through it and to make it blend convincingly. This was the toughest area of the arm, I found.

Blending the forearm includes part of the sleeve. This is mainly for extreme arm twists, it will drag the sleeve cuff, slightly.


The bottom part of the forearm, I blended the upper forearm and the wrist together. The underside of the wrist has a slightly stronger influence.

I moved onto the hands. This was a fairly short process.

The hand needed blocking out, removing the influence on the fingers. These will be sorted out later.

Also, the crushing on the wrist needs tweaked right away. 

Using the opposite poses to where I want to edit, I select the vertices and begin to blend into a smooth transition.

The top of the hands.

For some reason, the hand had a couple vertices that would not change. I had to find the bone that was connected to the vertices and select a weight of zero. I don't know why it wouldn't allow me to do it direct to the new bone selection.

I worked on the fingers next.

The fingers needed a lot of work to get right. From the start, the fingers would splay out. This portion infuriated me to no end.

The fingers needed a lot of blending to make them look right. I would start from the tips and work down to the hand. The thumb needed so much work, as the third portion of the thumb is part of the hand itself. Getting this right made the hand really come together.

Here is a render of how it came out.


I then used the Skinwrap tool to take the symmetrical mesh and place the weighting on the original mesh.

After unhiding the original mesh, I applied a Skin Wrap modifier to it. These were the settings I used.


Ensure the proxy mesh and the original mesh are in the same position. I tried like this after scrubbing through the animation to check it was all fine and it matched the animation like this and looked very strange.


The tutorial said you could remove the proxy mesh at this point, but when I did, the animation would not carry over to the original mesh. It was a simple case of backing up.

Next was the head.

I set the eyes and mouth to be part of the head via the parenting option.

It keeps them as part of the rig in this way. 


Setting the head up to follow the head is the same as registering the bones, like I had done with the rest of the body.

When scrubbing the timeline to make sure everything was connected properly, I came across this little error.
It was a simple case of adding an extra bone.


To the bone, I gave it a weighting value of 100%. This would keep the neckline in place.

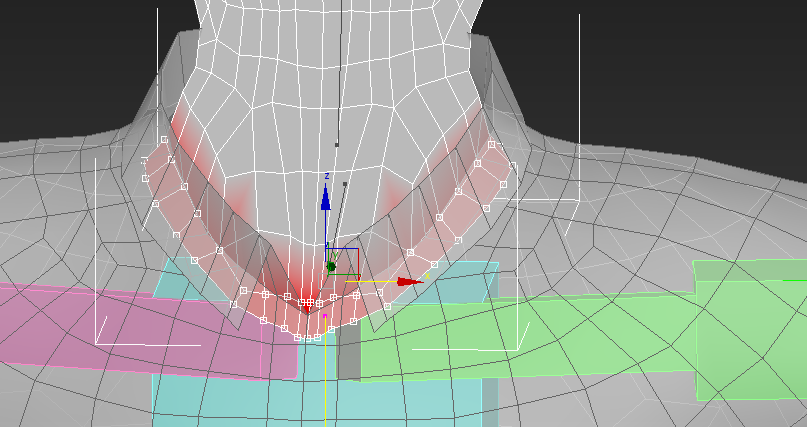
I would then blend the neck to give a smooth movement.

I had to play with the weighting a little more to stop the neck from breaching the torso when it moved.

This is a render of how the head movement came out.


My blog would not let me upload my reference footage, so I put it on Youtube. Here is the link.
http://youtu.be/ZbbjnEUPlw8