First time animating a character in Maya.
Production Blog of an Animation and Special Effects Student
Saturday, 27 September 2014
Tuesday, 23 September 2014
LCD Effect Title
As you can see, I've updated my title image with a new one!
The LCD is made in After Effects using the CC Ball Action effect. The main board is actually two instances of CC Ball Action, one for the larger grey ones, another smaller white one off center to give it a 3D look.
The text is also two layers done in the same style, larger coloured instance, smaller white one, which remains central, to give it the look of that is where the light is more intense. I also added glows to the text
I animated it using a mask, generating a fill on it, then key framing the End setting, 0% at the start, 100% where I wanted it to finish. The flickering is just alpha-ing the Precomp I used for the Text for quickness.

The light is added from a Gradient Ramp and the grime is an image which I altered the levels of and Screen Blended to give the illusion of the display being behind an old, dirty and scratched screen.
The LCD is made in After Effects using the CC Ball Action effect. The main board is actually two instances of CC Ball Action, one for the larger grey ones, another smaller white one off center to give it a 3D look.
The text is also two layers done in the same style, larger coloured instance, smaller white one, which remains central, to give it the look of that is where the light is more intense. I also added glows to the text
I animated it using a mask, generating a fill on it, then key framing the End setting, 0% at the start, 100% where I wanted it to finish. The flickering is just alpha-ing the Precomp I used for the Text for quickness.
Using a 3D layer on the full LCD display (back and text) I manipulated the angle to get my desired one.
I moved the text to the top left of the LCD board layers so when I angled the precomp it would not be cut off the edge of the screen and also because changing the angle was giving areas where no LCD sections were.The light is added from a Gradient Ramp and the grime is an image which I altered the levels of and Screen Blended to give the illusion of the display being behind an old, dirty and scratched screen.
Final Video of Test 01
Moving forward, I will add a Depth of Field, but the Ball Action isn't recognised for the DOF, so I will have to simulate it with a Camera Lens Blur and create a DOF mask.
Wednesday, 10 September 2014
More Jack Rollins!
Jack Rollins' Kickstarter was fully funded and hit the stretch goal for having a physical copy printed.
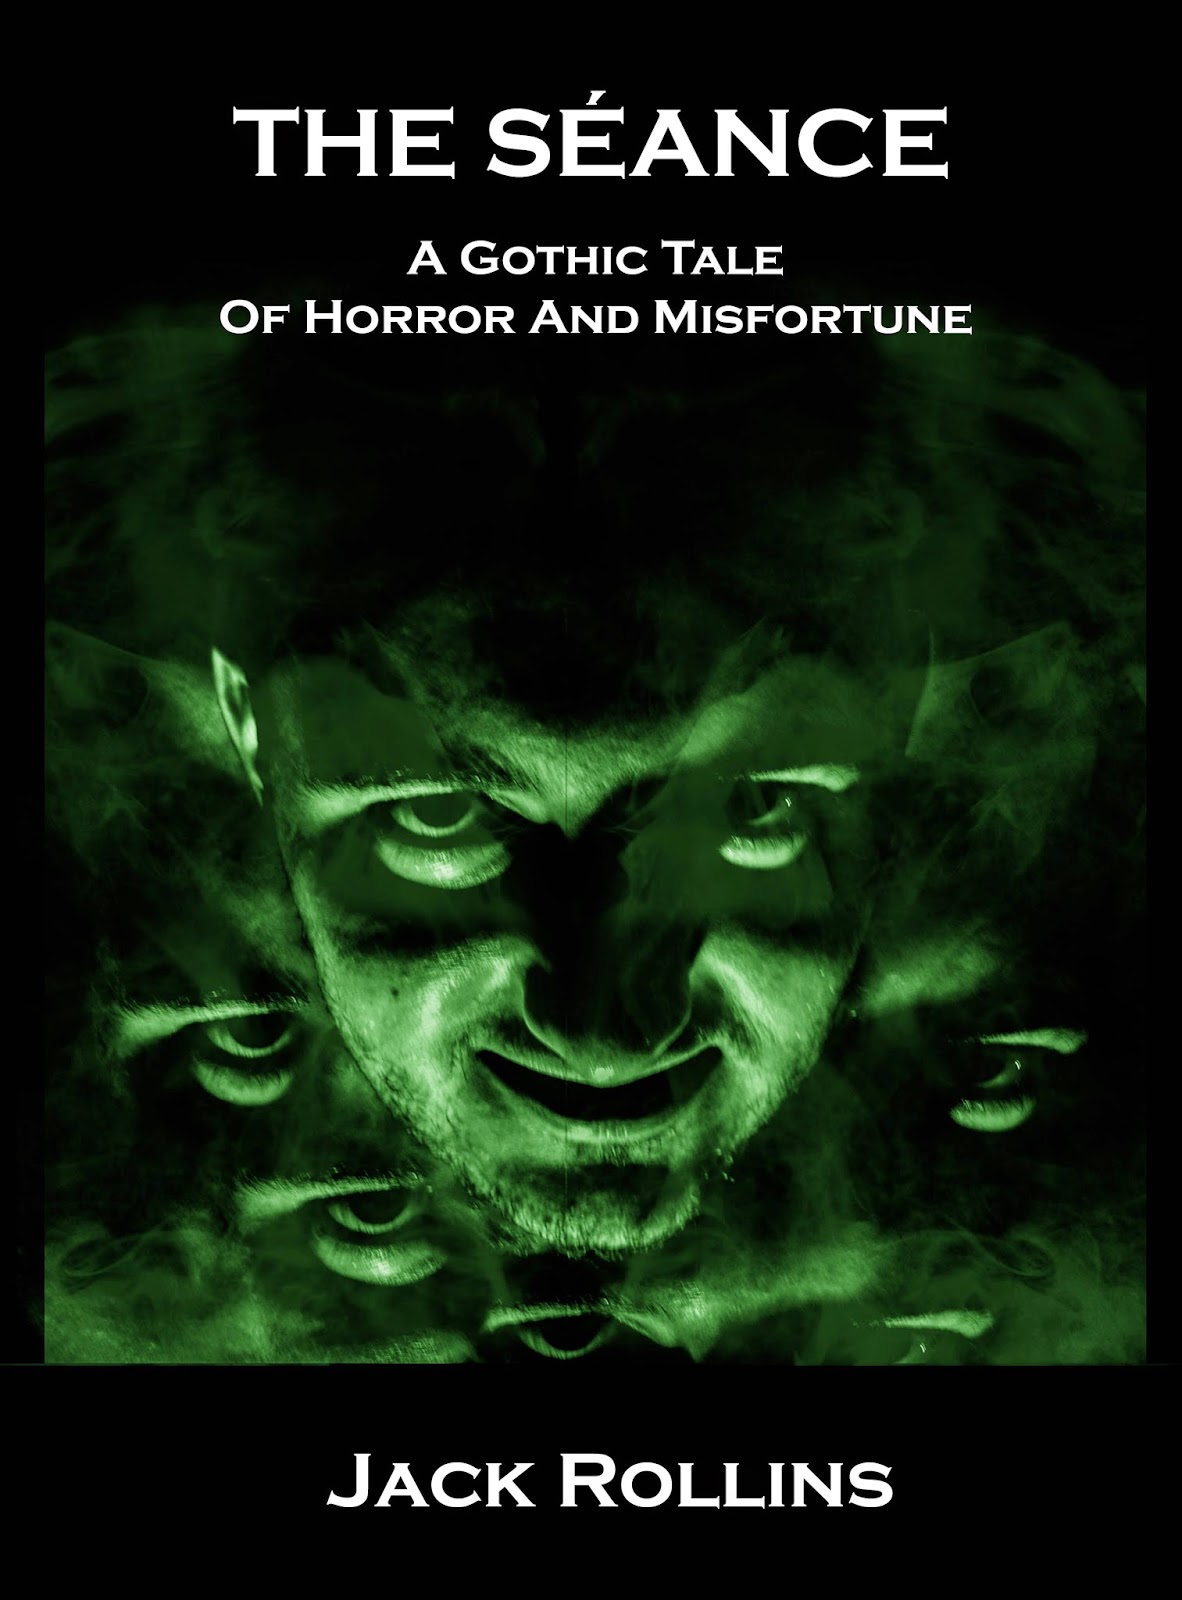
I was asked to help with this again! He enjoyed my work for the kickstarter launch and asked if I could do some more with the image to make it look even more demonic. The original image was a Raw Jpeg, so I was able to manipulate it more than with a standard compressed Jpeg.


I was asked to help with this again! He enjoyed my work for the kickstarter launch and asked if I could do some more with the image to make it look even more demonic. The original image was a Raw Jpeg, so I was able to manipulate it more than with a standard compressed Jpeg.
So taking the original image I made a few different versions for Jack's feedback.
<< I deepened the shadows slightly and tinted green
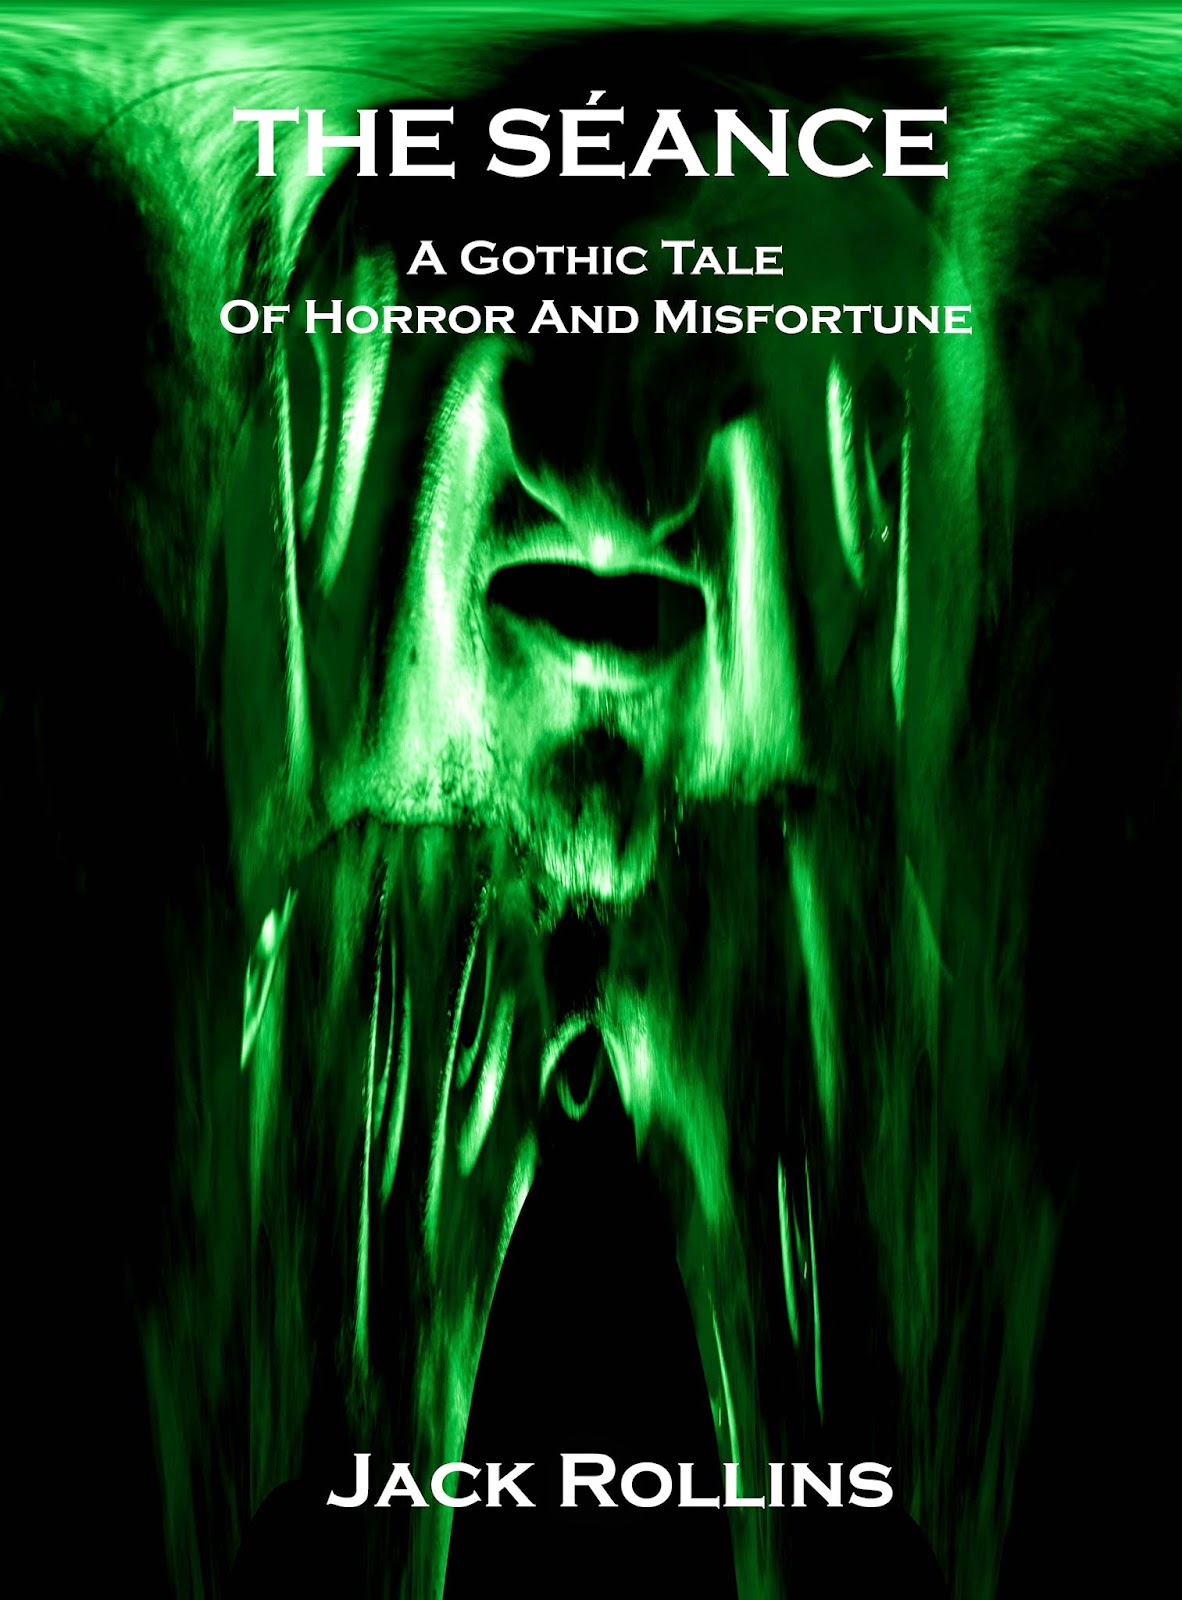
I tinted green and displaced the image completely >>
<< Using Liquefy after tinting green slightly, I began to draw out parts of the face to become more demonic.
Using the same process as before, but making sure parts weren't stretched out of detail. There's a tool which can draw back what you have done, which I found was great for reverting stretched detail. >>
In the end, this was the selected cover. It is set for the eBook version and I will be going back and resizing and resetting for the paperback version.
Thursday, 4 September 2014
RAW Image Editing
So, the Nikon D5200 is capable of RAW image capture (sadly, no RAW video, though) so I decided to have a mess about in PS with a photo I took while out and about in Alnwick, my home town.


Original image
I wanted to contrast the original heavily, from the nice, relaxing, warm day that it was taken on to a more cold, oppressive scene. Bringing out the shadows really helped with this, plus giving the whole scene a blue tint conveyed the cold feeling
Subscribe to:
Posts (Atom)