After presenting the previous post to class to show my ideas and gain some initial feedback and pointers (some of the questions I had thought about already, so I had answers prepared for those, like would I be using a Crowd simulation? - Which I'm not sold on at the moment. My focus is the character animation, so crowd simulation would be an after thought) I went forward with my plan.
I've been working primarily on the scenery, getting it to code and gaining feedback from other animators and modellers.

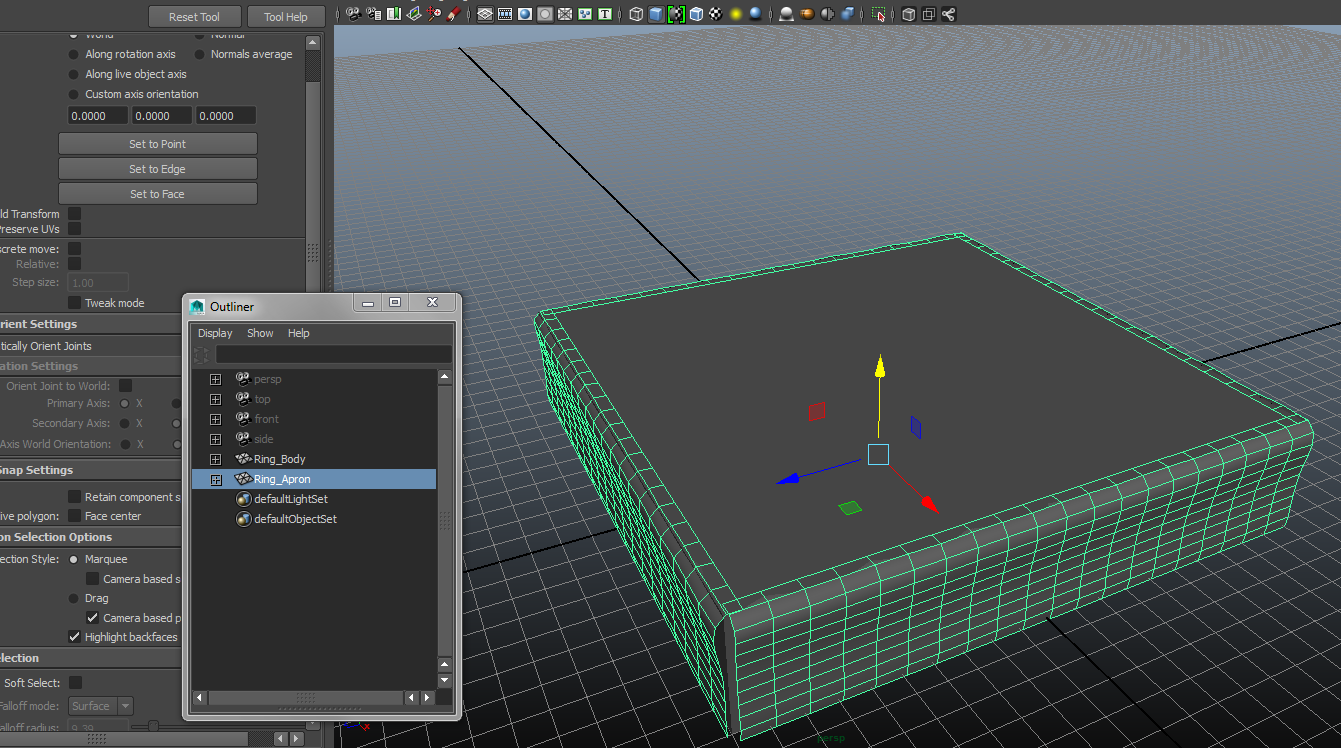
Working forward, I began creating a higher quality version of the ring. The anatomy of a Wrestling Ring is supported wood for the central area which is elevated. The apron is attached to the outside of the supports and covers the bare frame of the ring (and hides the tables, ladders, chairs, kendo sticks[?!] and other weapons wrestlers may use) To create the apron, I applied a cloth modifier to a plane and attached the top line of verts to the cube (ring floor). Simulating the cloth to drop then deleting the history of the plane froze the apron in it's current state. I duplicated this for all four sides.
I was sure to keep items organised in the Outliner. This is to make navigating objects easier.


The ring posts I made using cylinders and rounded off the tops, then attached the turnbuckles to the posts. The turnbuckles were spheres which I altered using soft selection and smoothing (3 on keyboard) - This doesn't alter the poly history, so undoing won't remove this. 1 on the keyboard will, however. Just a note.
I released screenshots on Facebook periodically, as I have a number of 3D modellers and animators (2D and CG). Martin Bell the guy behind Yes, Commissioner, http://www.yescommissioner.com/
Martin has given me a lot of great feedback in the past with regards to both modelling and animation and praise for a clean Outliner is always helpful.


Again, Martin was giving me more feedback. The stairs needed a little tweaking. I was already considering redoing them, as they weren't looking quite right.
I began bordering the area with guard rails before I had noticed the issue with the stairs...

So it was a simple matter to fix up the set of stairs.

The apron issue is mainly caused by the default lighting. The actual curve isn't too bad.

A test for UV texturing the Apron. Also visible is the ramp and entrance stage. These are added purely for aesthetic.
More texturing is required and the majority of modelling is complete, just a few more additions and the modelling is done.
Some reference shots that were used specifically for these models. (For other Reference, see Mood Boards in previous post)

The Entrance Stage from NXT, WWE's developmental show.


Barriers surrounding the area. These have more interest than the WWE RAW/Smackdown barriers, which are essentially foam padded blocks.
No comments:
Post a Comment