Continuing the rigging of the zombie, I moved onto the torso.

I selected the areas around each of the bones and blocked them out.

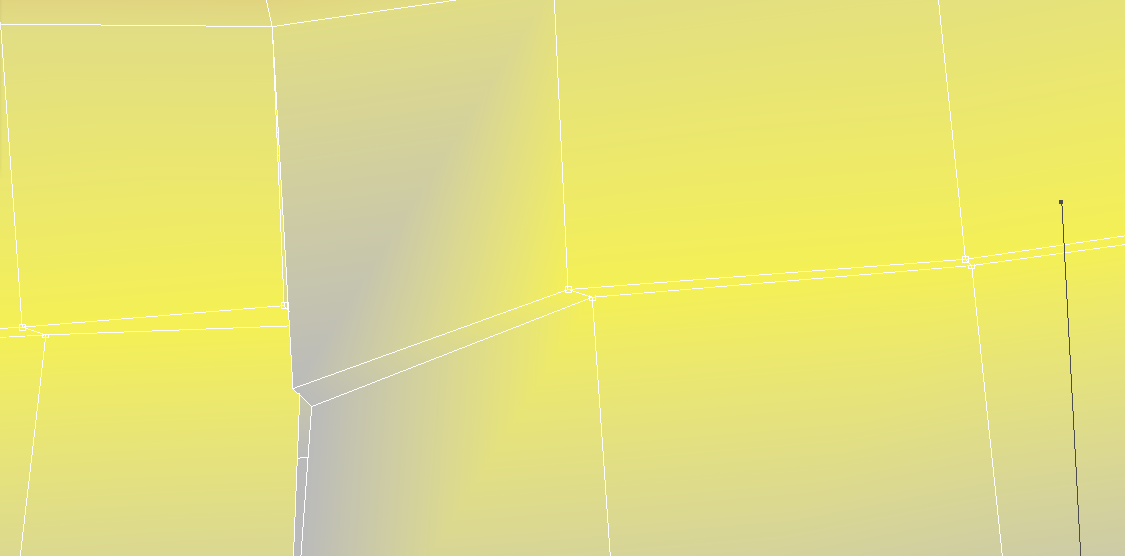
The first piece I began cleaning up on the torso was the Belt. This area is a constant width, so I had to keep that in mind with it;s weighting.

The belt is part of the spine bone so it will stay at it's constant width. It only needed a small weight edit.

A closer shot of the belt.
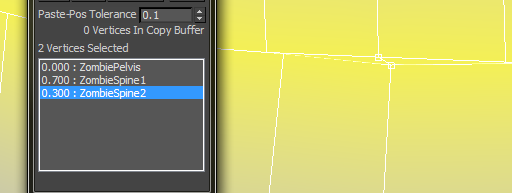
I found a slight error from the welding. It didn't weld it at all. This was a constant thing I had to fix, ensuring that any loops had 30 vertices selected became second nature when working on the torso.
To fix this issue, I just matched the weighting with the rest of the loop.

Blending the torso together finishes off the torso.
The toughest part of this rigging was just the error from the Weld and getting used to the fix I had done.
From here, I moved to the Shoulders, then down the arms.

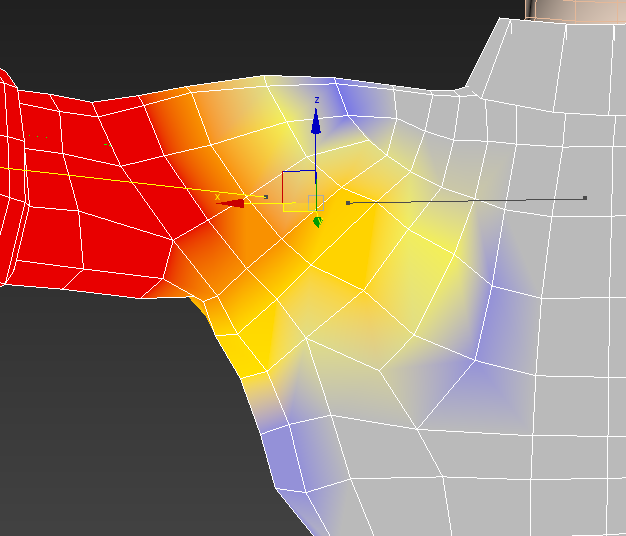
Weighting areas to the Clavicle then blending them to the shoulders is a little tricky to get right just because of the way the shoulder reacts when moving. Starting with a 10% weighting at the neck/collar is where I kicked off.

Blending down the shoulder takes a certain mindset to know you are getting it right. I think I've touched on this before, where as you are working on the areas, they will look NOTHING like how you are wanting it to look until you are finished and it just clicks into place. Once I got my head around that way of thinking, it became easier to do. This shot is a perfect example of it. The big difference in the weighted section and the parts left to edit can be off putting.

Blending the next loop drops the gap down, then moving further down the shoulder, it clicks into place perfectly!

The basis of the shoulder is weighted. From here I finetune the areas so as to get a smooth transition for the movement.
The underarm area was tricky to nail down. I used my own movements to get this section working properly.
This is the reference footage.
I then moved to the arms.

As always, I block out the areas to start. It makes blending the areas that much easier.

To get the elbow crush correct, I had to trial and error my way through it and to make it blend convincingly. This was the toughest area of the arm, I found.

Blending the forearm includes part of the sleeve. This is mainly for extreme arm twists, it will drag the sleeve cuff, slightly.

The bottom part of the forearm, I blended the upper forearm and the wrist together. The underside of the wrist has a slightly stronger influence.
I moved onto the hands. This was a fairly short process.

The hand needed blocking out, removing the influence on the fingers. These will be sorted out later.

Also, the crushing on the wrist needs tweaked right away.

Using the opposite poses to where I want to edit, I select the vertices and begin to blend into a smooth transition.

The top of the hands.

For some reason, the hand had a couple vertices that would not change. I had to find the bone that was connected to the vertices and select a weight of zero. I don't know why it wouldn't allow me to do it direct to the new bone selection.
I worked on the fingers next.

The fingers needed a lot of work to get right. From the start, the fingers would splay out. This portion infuriated me to no end.

The fingers needed a lot of blending to make them look right. I would start from the tips and work down to the hand. The thumb needed so much work, as the third portion of the thumb is part of the hand itself. Getting this right made the hand really come together.
Here is a render of how it came out.
I then used the Skinwrap tool to take the symmetrical mesh and place the weighting on the original mesh.

After unhiding the original mesh, I applied a Skin Wrap modifier to it. These were the settings I used.

Ensure the proxy mesh and the original mesh are in the same position. I tried like this after scrubbing through the animation to check it was all fine and it matched the animation like this and looked very strange.

The tutorial said you could remove the proxy mesh at this point, but when I did, the animation would not carry over to the original mesh. It was a simple case of backing up.
Next was the head.

I set the eyes and mouth to be part of the head via the parenting option.

It keeps them as part of the rig in this way.

Setting the head up to follow the head is the same as registering the bones, like I had done with the rest of the body.

When scrubbing the timeline to make sure everything was connected properly, I came across this little error.
It was a simple case of adding an extra bone.

To the bone, I gave it a weighting value of 100%. This would keep the neckline in place.

I would then blend the neck to give a smooth movement.
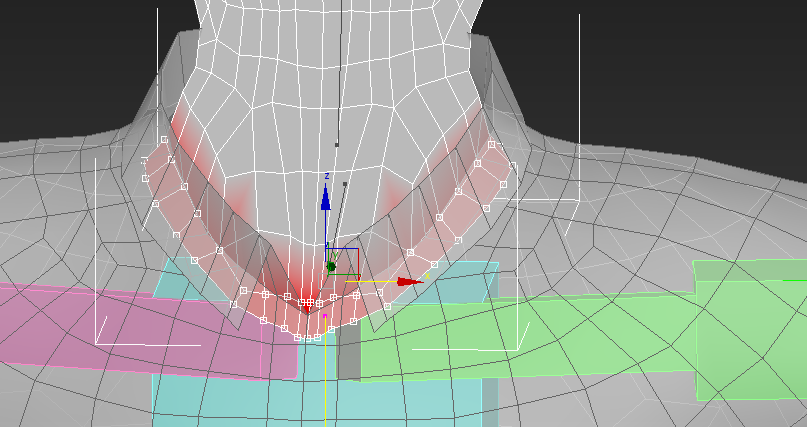
I had to play with the weighting a little more to stop the neck from breaching the torso when it moved.
This is a render of how the head movement came out.
My blog would not let me upload my reference footage, so I put it on Youtube. Here is the link.
http://youtu.be/ZbbjnEUPlw8
http://youtu.be/ZbbjnEUPlw8
No comments:
Post a Comment