Wednesday, 11 March 2015

Advanced Animation and VFX - Week 6-1

Blocking in the First section of the sequence.
Focusing on the key poses and the timing of the piece. I'll have to go back and fix a couple areas which need speeding up when I go back and Clean up the piece.
No cameras or lights are added into the piece yet, I just want to get the blocking done.

Monday, 9 March 2015

Production Project - Characters

I've created the Morph Targets for the Human Characters. One of them is wearing a balaclava (the model has no mouth underneath) so this character wont be talking much, but I've opted to give this one a M60-E4, an LMG. With the amount of smoke and spent shells from one, hot casings hitting the lips wouldn't be very nice. So that's his fluff sorted. The other human will be a rapid assault troop with a P90 SMG. As he is rapid assault, his armour is different as he needs more mobility and to be more lightweight.


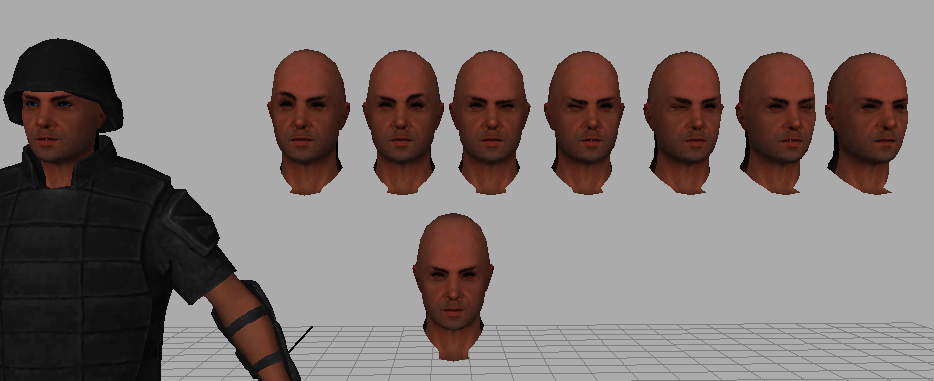
This is the Rapid Assault character. There are more Morph Targets than in the bottom picture. The top has the targets labelled for ease of use. I tried having them in separate groups, eyes and mouth, but if they are not in the same group, then they do not blend properly.
The Support troop with the LMG has less Morph Targets for his speech. I donned my balaclava which I use when paintballing to see how the mouth shapes show through. The only 3 that showed anything of value were the shapes for A (E didn't show any difference and looked similar to CDGTh and so on) O (similar to UQW) and M which would catch the material slightly and draw it in.
M

For the general face shapes I used shots used in my Dissertation. These are examples of the 9 key mouth shapes. I've labelled what they are beneath.

AI

CDGKNRSThYZ

E

FV

L

MBP

O

U

WQ


Jennifer Conley shows how to have the model's Morph Targets not give you the Spikey Ball Of Death (SBOD). This video was extremely helpful for me in this stage, as I was having to extract the head of the model to edit.
A problem I found was that I could not edit the face in programs such as Zbrush and import the edited head back into Maya and have it work. This I believe is because the names of the verts will have been changed, which results in the SBOD. This meant I had to edit the morph targets in Maya itself, which I had avoided in my first semester in the Short Story project. This time however, the mesh flowed perfectly and editing in Maya was very easy. It also let me keep track of the texturing. A problem I had come across in Short Story was that the textures would crush as a result of editing in Zbrush and being unable to see the texture details. It resulted in the character having almost Geisha-like lips at some points, which was covered anyway due to the low lighting of the scene. With this piece, however, the textures have been fine because I could see when I have moved a vert too far. Soft Selection was my best friend for this. A lot of changing the spread was needed, so I could keep control over what I was moving.

Overall, I'm happy with the end result!
I have to rig the characters next, but that is not a major problem as I have previous experience with rigging in Maya. From there, I can focus on the animation. Which I should have a start on this week.


Sunday, 8 March 2015

Advanced Animation and VFX Week 5-2

https://www.youtube.com/watch?v=uRWUTNHucjA

Animation from 2K's WWE2K15 of Seth Rollins. Rollins is the wrestler who I am basing my heel character on, who does the Curb Stomp. A good angle in this video for reference.

Advanced Animation and VFX Week 5-1

This week was catching up with some texturing.
I created the CMANIM wrestling apron and textured the ropes and barriers. The stairs are a solid coloured Blinn material, so it has specular.

Having been focusing on the Production Project due to some issues, I have been behind on the projected animation, but as the next stages are focusing on Animation and any pieces that need fixed up on the modelling side of things, I am not massively worried and I'm certain I'll be able to get the animation done to a high standard in the remaining time.

Week 5 Gannt Chart.

Sunday, 1 March 2015

Production Project - Modelling Street

Progressed a bit with the street modelling. Have the first building complete. I'd like to design one more building to give a bit of variety to the street.
Here's what it looks like so far with the night lighting.
Note there are no roof sections on the buildings. This is because there won't be any views that will show the tops of the buildings.

Door from http://www.cgtextures.com/texview.php?id=67908&PHPSESSID=qa2ej1efr5muucqcnecclqg052 I edited the image slightly for my use. I didn't like the bit of light shining on the door on the left side.

UPDATE:
More updates. Been texturing up the street more. Including adding light that is emitted from some windows.

Here I show how I made the light splash onto the surrounding scene. NOTE: Sound is very low.

MENTAL RAY SKY BOX
Default lighting settings, like a Noon lighting.

Changing the intensity of the light from 1 to .5


Cinematic night - A blue tint to the "night" setting.

Initial light and splash

Altered light and splash

Changed the colour of light and added it to more windows.

Darkened the windows that aren't lit up.

Road texture added with bump map. The cracks in the road are added just to give the street a "lived in feel" before I add real damage

Path with bump map. I didn't like the bump on this, so I went back into Photoshop and edited the image to only have the bump on the seams between the tiles.
Fixed bump map, with curb texture and bump


UPDATE!

Boolean in Maya is a nightmare. Pure and simple, avoid if possible. I had to find some work arounds to allow me to use it, but I got there in the end, but my, what a pain it was.
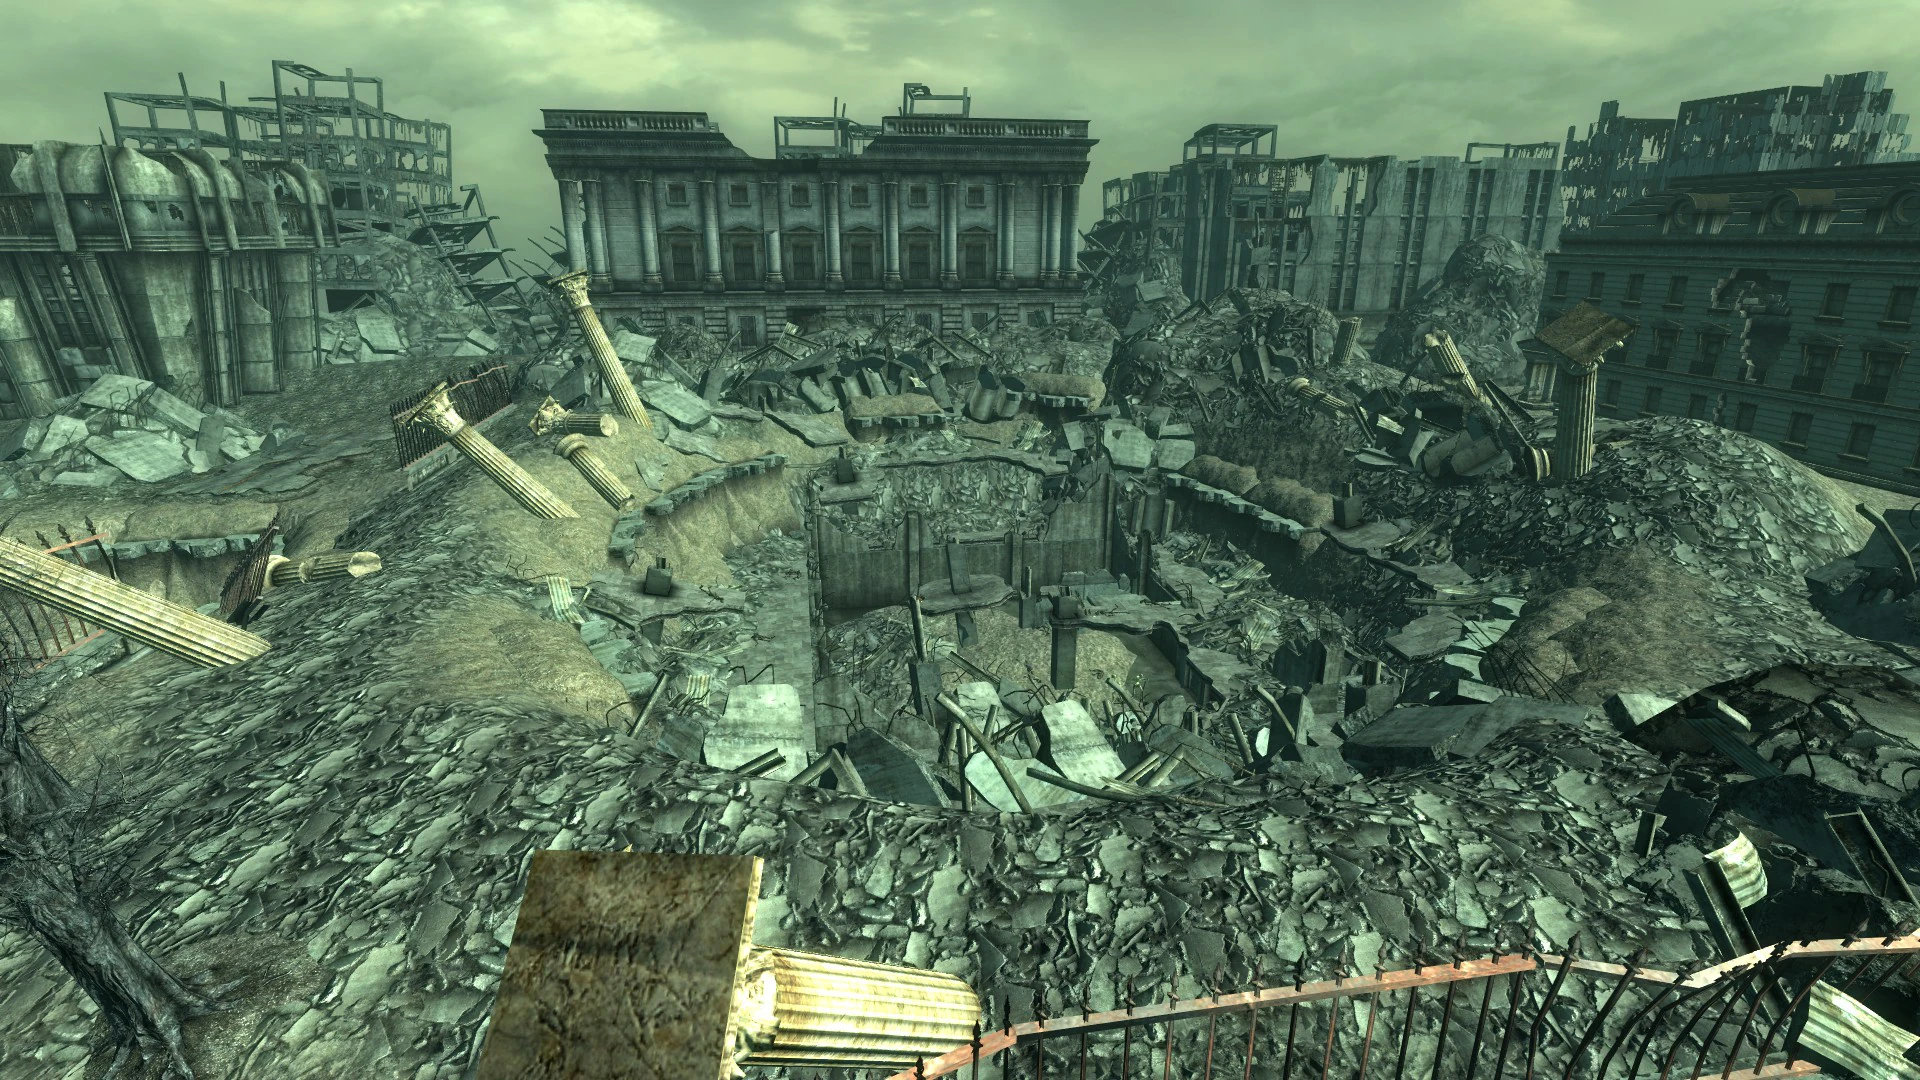
The smashed buildings have a burn effect added in Photoshop to the texture, so it looks like it's been blown apart, not just collapsing. I sank the roof and ceiling, like I had seen in the reference photos from an earthquake. The piles of rubble are inspired by Fallout 3.
The rubble is a plane that has it's vertices edited to give it bumps and ridges, then the texture applied. I also added a bump map, then had geometry sticking out of the rubble to give it a more realistic feel.

Added street lights. I decided to use the Bollard style lights rather than the overhead lights.
This was for two reasons, I couldn't get the light splash to look right at such a height and also, the bollard lights I've seen in residential areas in more modern housing areas and they look nice, give a lower light, but still enough to be able to see when walking.


Advanced Animation and VFX Week 4-2

Again, Production Project has dominated due to majot issues.

Advanced Animation and VFX Week 4-1

This week I ran into a lot of problems for my Production Project which has taken up my time. The coming week, I plan to catch up with the little bit of texturing I need to complete, but still have issues with the other project. This is putting me behind on the animation side of things, but not too far behind.
No Gannt chart this week.