NOTE:
As embedded videos do not save in Archived Pages, I have provided direct links to each video
The final piece for the Production Project.


The Storyboard for the sequence
I ended up dropping sections of this storyboard (Page 3- Panel 3 onwards), as I simply did not have time to get everything together. What I do have for the final piece I feel is pretty accurate to the storyboard.
Getting this project finished was... a nightmare for me. Drowning in stress and errors was the most terrifying experience I've had. My presentation for the piece could not have gone worse, really. I was exhausted and defeated. The feedback I was given, however was priceless. After taking that day to just de-stress and get my head back together, I was ready to get my nose back to the grindstone. I redid the opening sequence partially to remove the bizarre camera moves and lip sync, plus fixing the "zombie eyes" that plagued the initial video.
Night of the Living Headache - Part of my presentation video with errors.
Whilst presenting, my computer was rendering a scene out for the final product. When checking that batch render, I discovered yet more problems which were not in the frame render I did. The aliens seemed to be black, no texture on them, just floating eyes. Upon further tests, it turned out they were rendering as alpha channels. (See below)


How the alien should have looked
I ended up re rendering this scene (plus another I had rendered by a friend, as it had the same problem). This time, however, I rendered as .png (and at HD720 to quicken the render process. I had no time to waste.)

Problem solved!
Thankfully, this fixed the "Stealth Alien" problem, as I came to call it. I also fixed some camera work in this scene.

Alien Shooting

After Effects layers for alien shooting
The alien shooting sequence comes from a test I had done through the Summer from Video Copilot.
What I had made following Video Copilot's tutorial
After I had made that, I knew that I wanted to do more with it. It was a fun effect and relatively simple to make (and let's be fair, after all is done with this project, ANYTHING is simple!). As the aliens in my piece were not using conventional weapons, the Sci-Fi gunshot was a clear option. Making this effect used VC's Shockwave assets and for this project, I added a Sparks asset from Action Essentials 2 (also from VC) and added a Polar Coordinates effect so I could have the sparks move in a circle, rather than flat. The weapon fires several elements, from the directional light from the muzzle flash, the shockwave flash and the shockwave projectile which is launched towards the camera, then the sparks which follow. In the screenshot of the After Effects layers, the White Solids are the muzzle flashes which are single frames of a flash, starting with just the barrel being filled with light to two flashes which are slightly altered and give a green flash which fills the screen.
This clip is a 1st person shot of the alien's round being fired.
I used this in my presentation to show an effect I was going to have in the final piece, but it was eventually dropped.
Unused Scene 01
So I dropped this scene, as I would have had to render some extra frames at the end. Simply freezing the last frame would keep the soldier in shot and would look off. I was also just not impressed with the effect overall. It was confusing and just didn't work. The explosion and sound effect are both from Action Essentials 2

Part of the explosion had to be masked out, so it didn't show over the soldier, who was in front of the blast.
Unused Scene 02
I dropped this scene for two reasons, the scene previous was dropped (the 1st person shot where you see the soldier sliding into cover) and the scene following it was not rendered due to time constraints. The following scene was to show the alien being shot off of the car. The above clip does not have sound.
I had even researched the recoil of the weapon (P90) and the movement in the scene features that.
I relied a lot on limited animation and being clever with camera placement. If it wasn't in shot, it doesn't get moved, simple as that. This saved a lot of time on the running of the character. You don't see his feet or legs, so I didn't have to move them. This isn't a new idea, however. It's one of the greatest time saving techniques going. That and 2's. Or 3's if you're making anime.
Live action reference footage was a godsend, too. A lot of what I have will come in handy for the future, and I'd like to think I'd redo this project one day (just for fun! I don't plan on resitting this!) Possibly even do it in 2D. As I do love 2D!
RENDERING!
Rendering was the bane of my life! I was rendering at 1080 with a decent quality, so I could give a good looking product. However, render times were MASSIVE. The Presentation video took over 30 hours to render. This alone destroyed my plans. I had begun rendering later than I wanted, as I was encountering issues with animation and lip sync. I resorted to rendering at HD 720 to speed up render times, but I also went back to the main scene which I was referencing in Maya. I cut the scene up to create more of a film set. This massively reduced the data Maya was working with and helped with rendering even further.
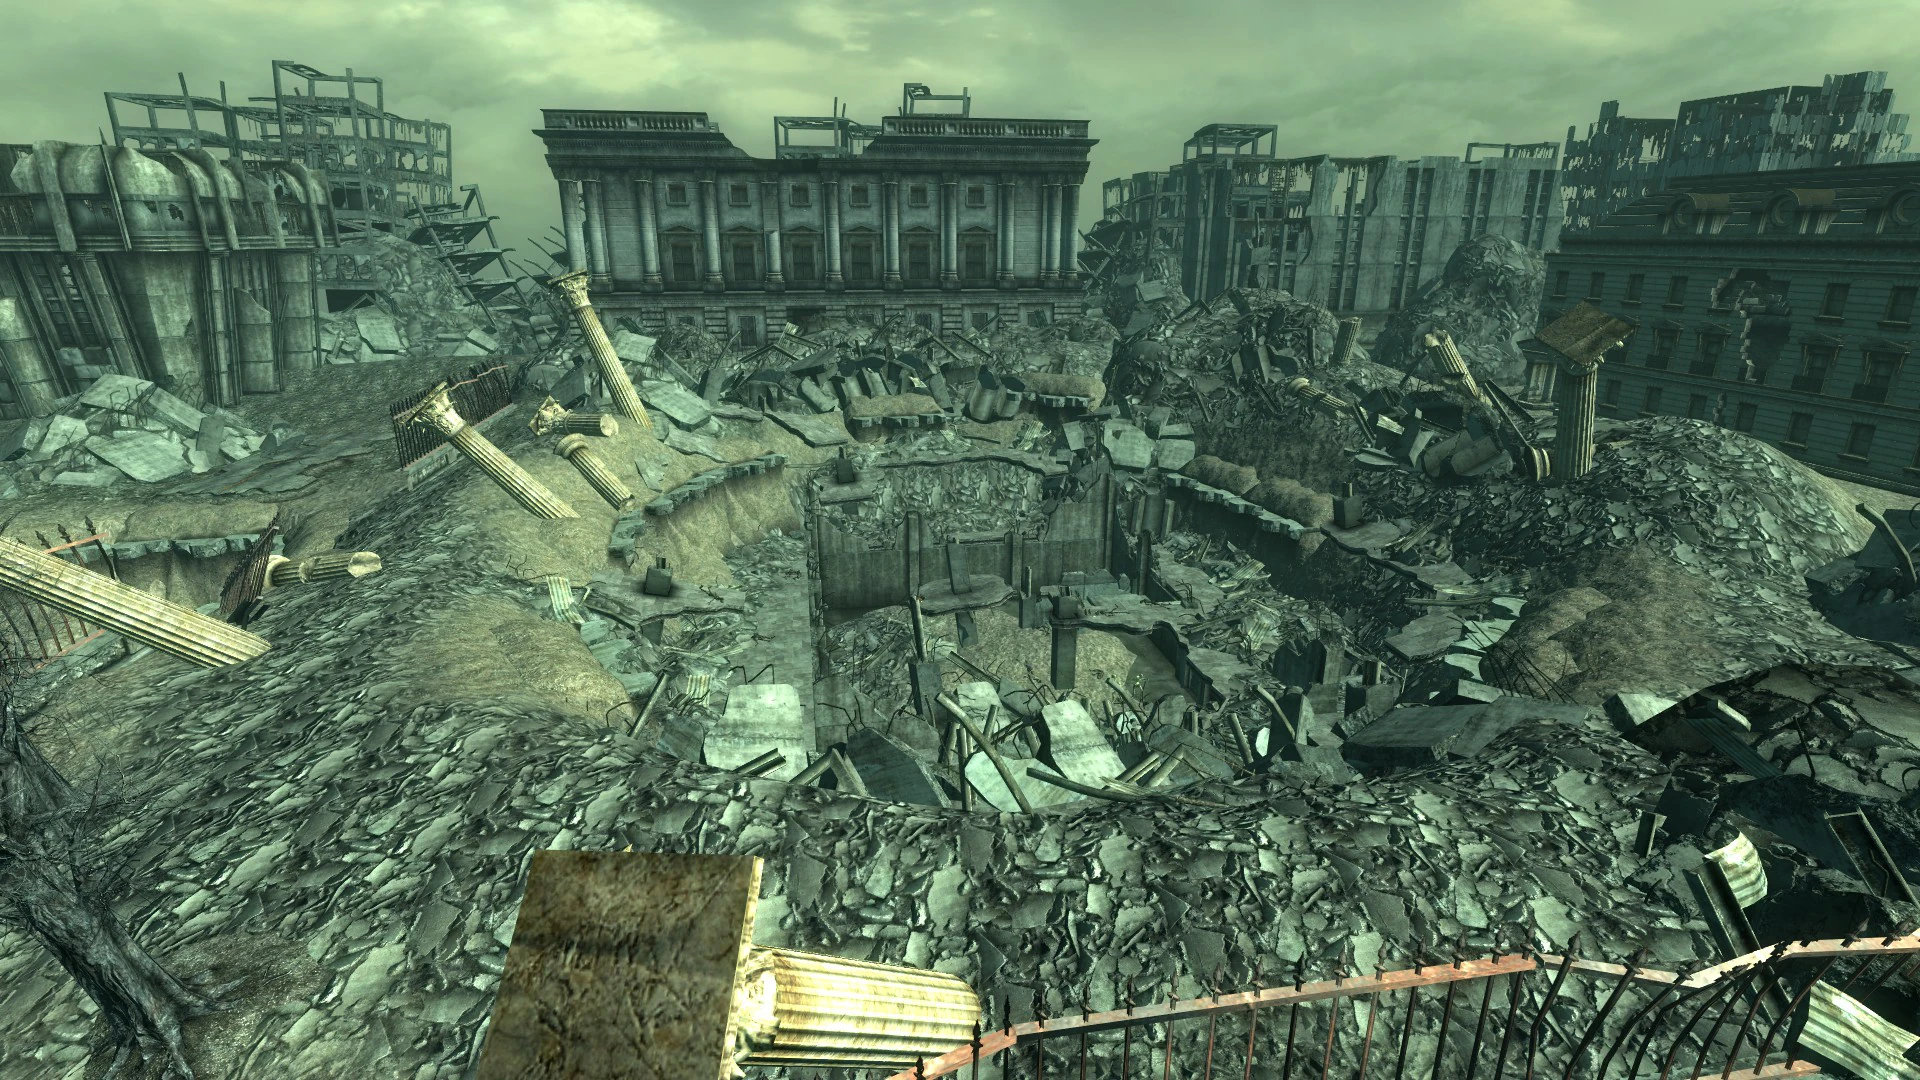
I had made a huge mistake with the modelling. I spent a lot of time making a beautiful scene, where I was not really needing such detail. My thinking of it was Jack of all trade. Be a generalist, I can model environments, I can animate characters and lip sync. However, with all of these areas, I was backing myself into a corner when problems arose. As seen in earlier posts, my scene began self destructing which required troubleshooting. But on the flip side, I did learn how to troubleshoot effectively!

Martin Bell of Yes, Commissioner! helping with Troubleshooting
When compositing my footage, I had to fix the Gamma settings on the OpenEXR files. After Effects was applying it's own Gamma to the files, which was having them far too bright and destroyed the colours on the weapons, especially the P90. The magazine on the top of the weapon had it's colours distorted so much. Gamma correction fixed the issues.
Hindsight is 20-20. When I look back on this project, I see so many things that I would have done differently. The main thing is changing my entire idea. Instead of an action sequence with speech, just focussing on speech!
If it needs a background, just do a simple one! Focus on the facial animation!
Creating sounds! Sound effects in the sequence range from a "Pulse Grenade" for the Alien gun, war background noise which has it's decibel level dropped, my voice, me making gutteral, throat noises for the alien shouting and just setting the microphone in front of my cat Tippy while stroking him for a purring which became the noise of the aliens. When the alien jumps onto the front of the Humvee, I took the sound of someone sliding over a car bonnet and matched it to the impact of the feet and hands of the alien hitting the vehicle. As the alien is a skinny creature, I assumed the creature is light, so the sound is very subdued, but without the sound, you can tell it's missing.
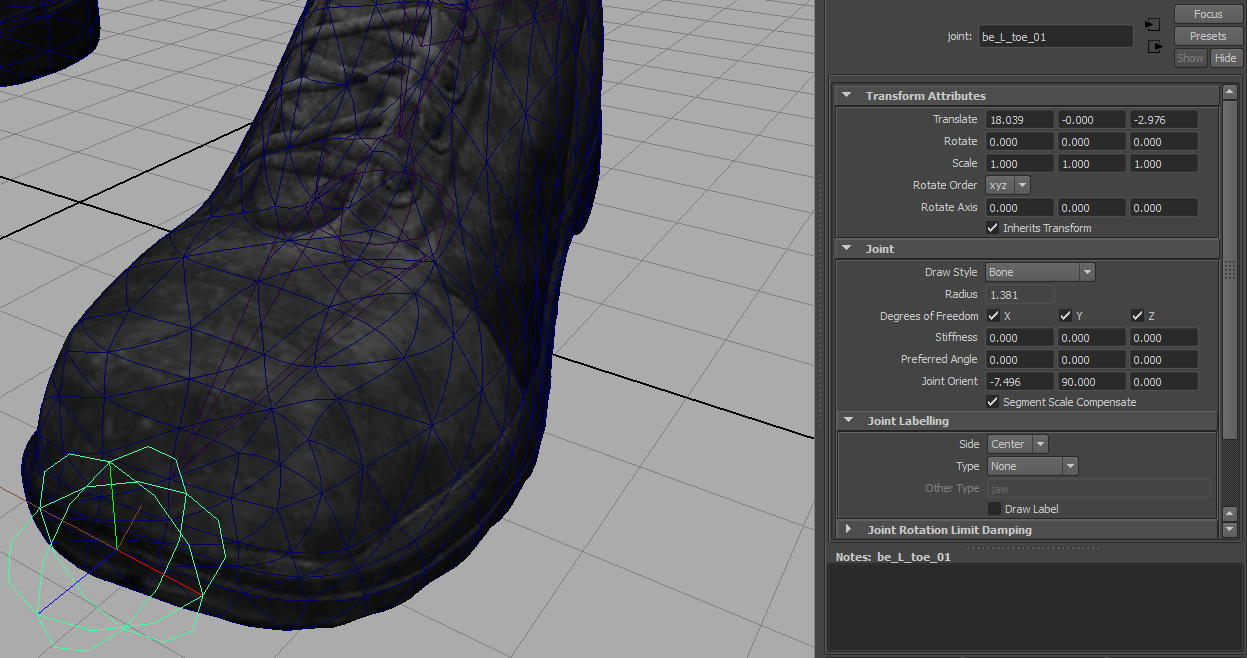
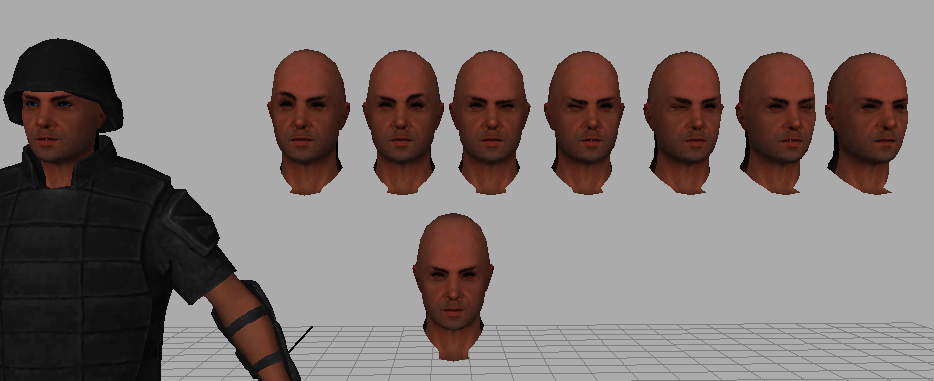
I have learned so much in the course of this project, from modelling techniques, skinning and rigging in Maya, creating custom attributes for the skeleton (like the hand controls where I can control the fingers from sliders) to taking the Morph Target process from my dissertation further and having the blendshapes of just the head being applied to a whole model. What I am taking away from this most, though, is "Work Smarter, Not Harder", "Keep It Simple, Stupid". Don't be a scope creep, meaning, if I have to say to myself, it's a lot, but I can do it, that should be throwing up red flags so go back to the drawing board. And to trust in my ability. For a while, it felt like I was never going to get it done, but here I am! Yeah, it's not how I wanted it to be, but that goes into my previous point.