Tuesday, 23 September 2014

LCD Effect Title

As you can see, I've updated my title image with a new one!
The LCD is made in After Effects using the CC Ball Action effect.  The main board is actually two instances of CC Ball Action, one for the larger grey ones, another smaller white one off center to give it a 3D look.
The text is also two layers done in the same style, larger coloured instance, smaller white one, which remains central, to give it the look of that is where the light is more intense. I also added glows to the text

I animated it using a mask, generating a fill on it, then key framing the End setting, 0% at the start, 100% where I wanted it to finish. The flickering is just alpha-ing the Precomp I used for the Text for quickness.


Using a 3D layer on the full LCD display (back and text) I manipulated the angle to get my desired one. 
I moved the text to the top left of the LCD board layers so when I angled the precomp it would not be cut off the edge of the screen and also because changing the angle was giving areas where no LCD sections were.

The light is added from a Gradient Ramp and the grime is an image which I altered the levels of and Screen Blended to give the illusion of the display being behind an old, dirty and scratched screen.

Final Video of Test 01

Moving forward, I will add a Depth of Field, but the Ball Action isn't recognised for the DOF, so I will have to simulate it with a Camera Lens Blur and create a DOF mask.

Wednesday, 10 September 2014

More Jack Rollins!

Jack Rollins' Kickstarter was fully funded and hit the stretch goal for having a physical copy printed.
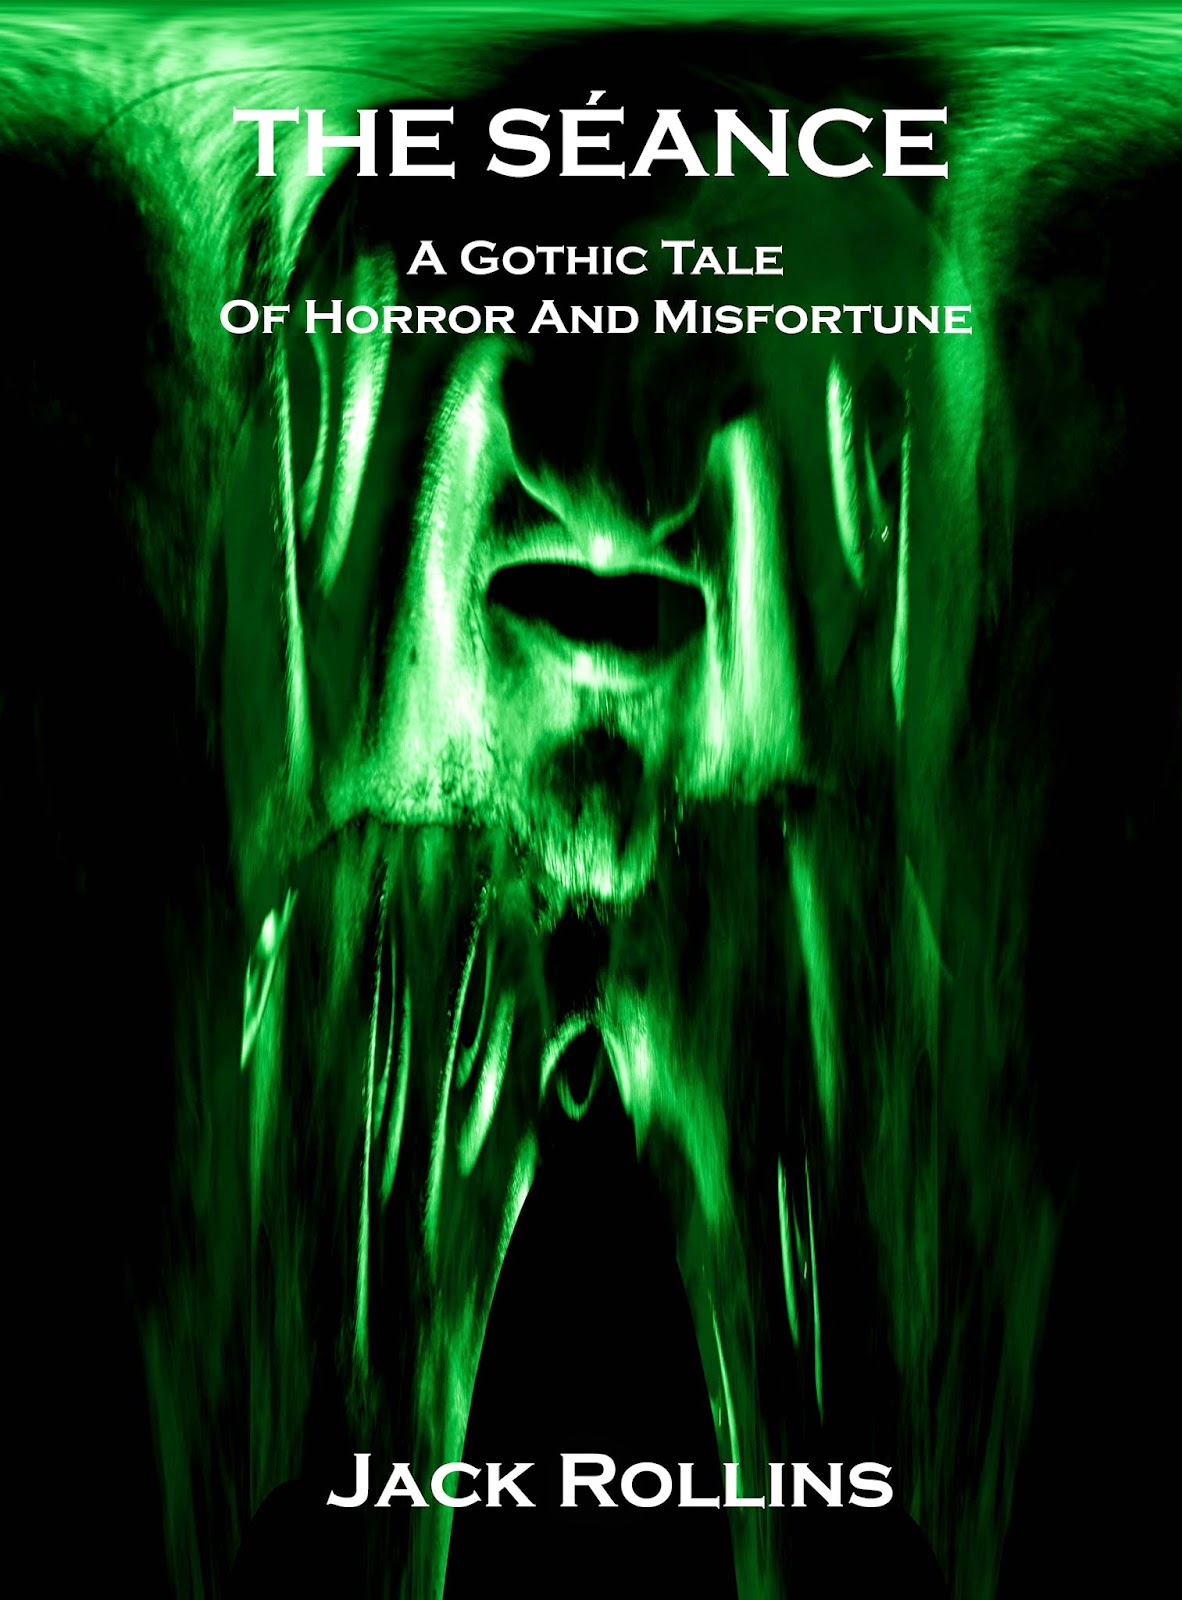
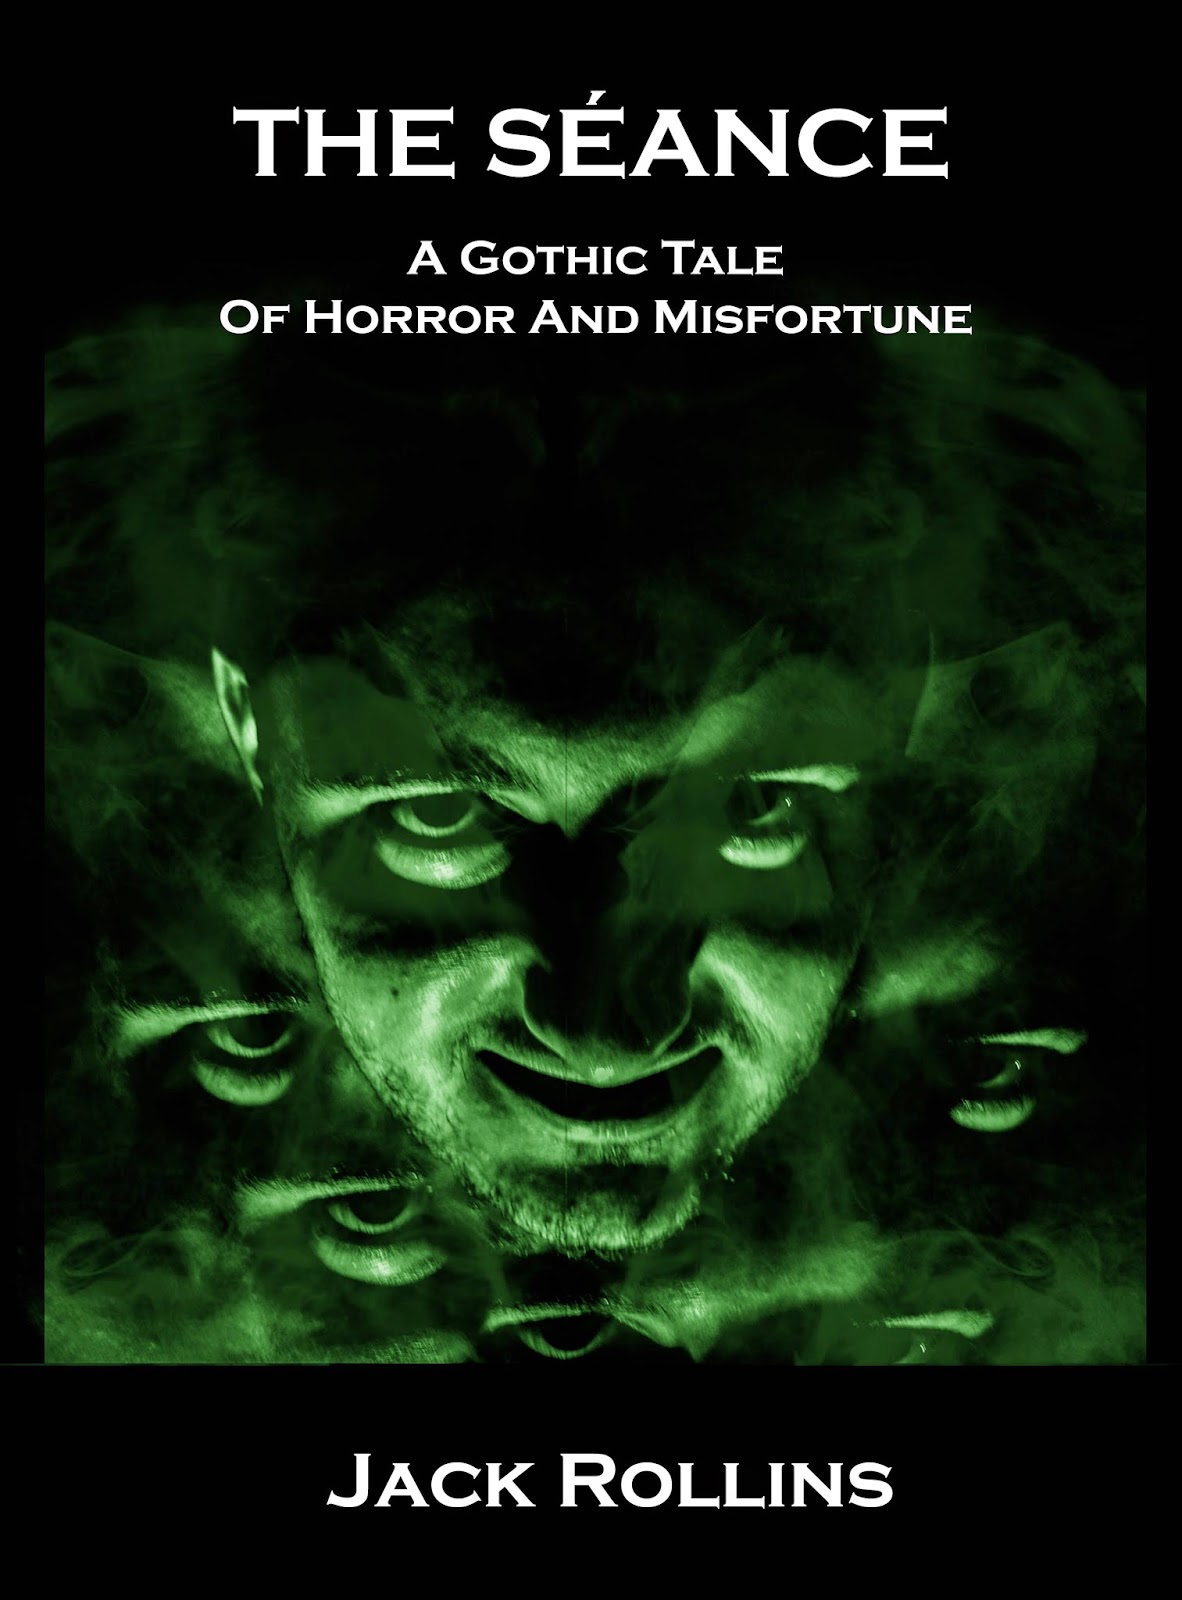
I was asked to help with this again! He enjoyed my work for the kickstarter launch and asked if I could do some more with the image to make it look even more demonic. The original image was a Raw Jpeg, so I was able to manipulate it more than with a standard compressed Jpeg.


So taking the original image I made a few different versions for Jack's feedback.


<< I deepened the shadows slightly and tinted green
I tinted green and displaced the image completely >>


<< Using Liquefy after tinting green slightly, I began to draw out parts of the face to become more demonic.

Using the same process as before, but making sure parts weren't stretched out of detail. There's a tool which can draw back what you have done, which I found was great for reverting stretched detail. >>

In the end, this was the selected cover. It is set for the eBook version and I will be going back and resizing and resetting for the paperback version.


Thursday, 4 September 2014

RAW Image Editing

So, the Nikon D5200 is capable of RAW image capture (sadly, no RAW video, though) so I decided to have a mess about in PS with a photo I took while out and about in Alnwick, my home town.

Original image

I wanted to contrast the original heavily, from the nice, relaxing, warm day that it was taken on to a more cold, oppressive scene. Bringing out the shadows really helped with this, plus giving the whole scene a blue tint conveyed the cold feeling

Friday, 8 August 2014

Kickstarter project - Jack Rollins

Jack Rollins, a horror author, has his kickstarter running, and you can see my work on there!
{LINK} Jack Rollins - The Seance {LINK}

Stretch goals are announced!

Tuesday, 5 August 2014

SciFi Gun Composition Test

Video Copilot's tutorial on how to make a SciFi gun shot using Shockwaves and a few standard effects in After Effects. I don't have my Greenscreen to hand, so I used the Project file supplied.
Needs a lot of work, but as a test, I'm quite happy with it, I will look at making my own Shockwaves in the future.

Mudbox Toolset in Maya

Former animator for EA and Rockstar, Stefaan Sorensen, has made a plugin for Maya which gives a Mudbox style toolset to Maya. This can drastically reduce the pipeline for detailing models, or scratchbuilding a model.
http://www.cgchannel.com/2014/08/sigrasoft-ships-waxlab-3d/
There's a hefty price tag for it, but it comes with a free 30-day trial option.
I'll be checking this out for sure!

Monday, 21 July 2014

CMANIM Video Effects

The image for Jack Rollins

The original photo. The light is produced from a Daylight bulb.


Author Jack Rollins asked me to make a cover for his upcoming book, Seance.
Combining techniques from Photoshop with what I can do in AfterEffects, I put together this little video. To take this further, I would be using better lighting and a better screen to key on.
It was simply Keylight, a couple masks on the sides, colour correction to Black and White, then change the levels., similar to how I did in Photoshop.


This was the original video that I used. I used a Daylight Bulb underneath my face to make my features stand out better when it came to changing the levels.


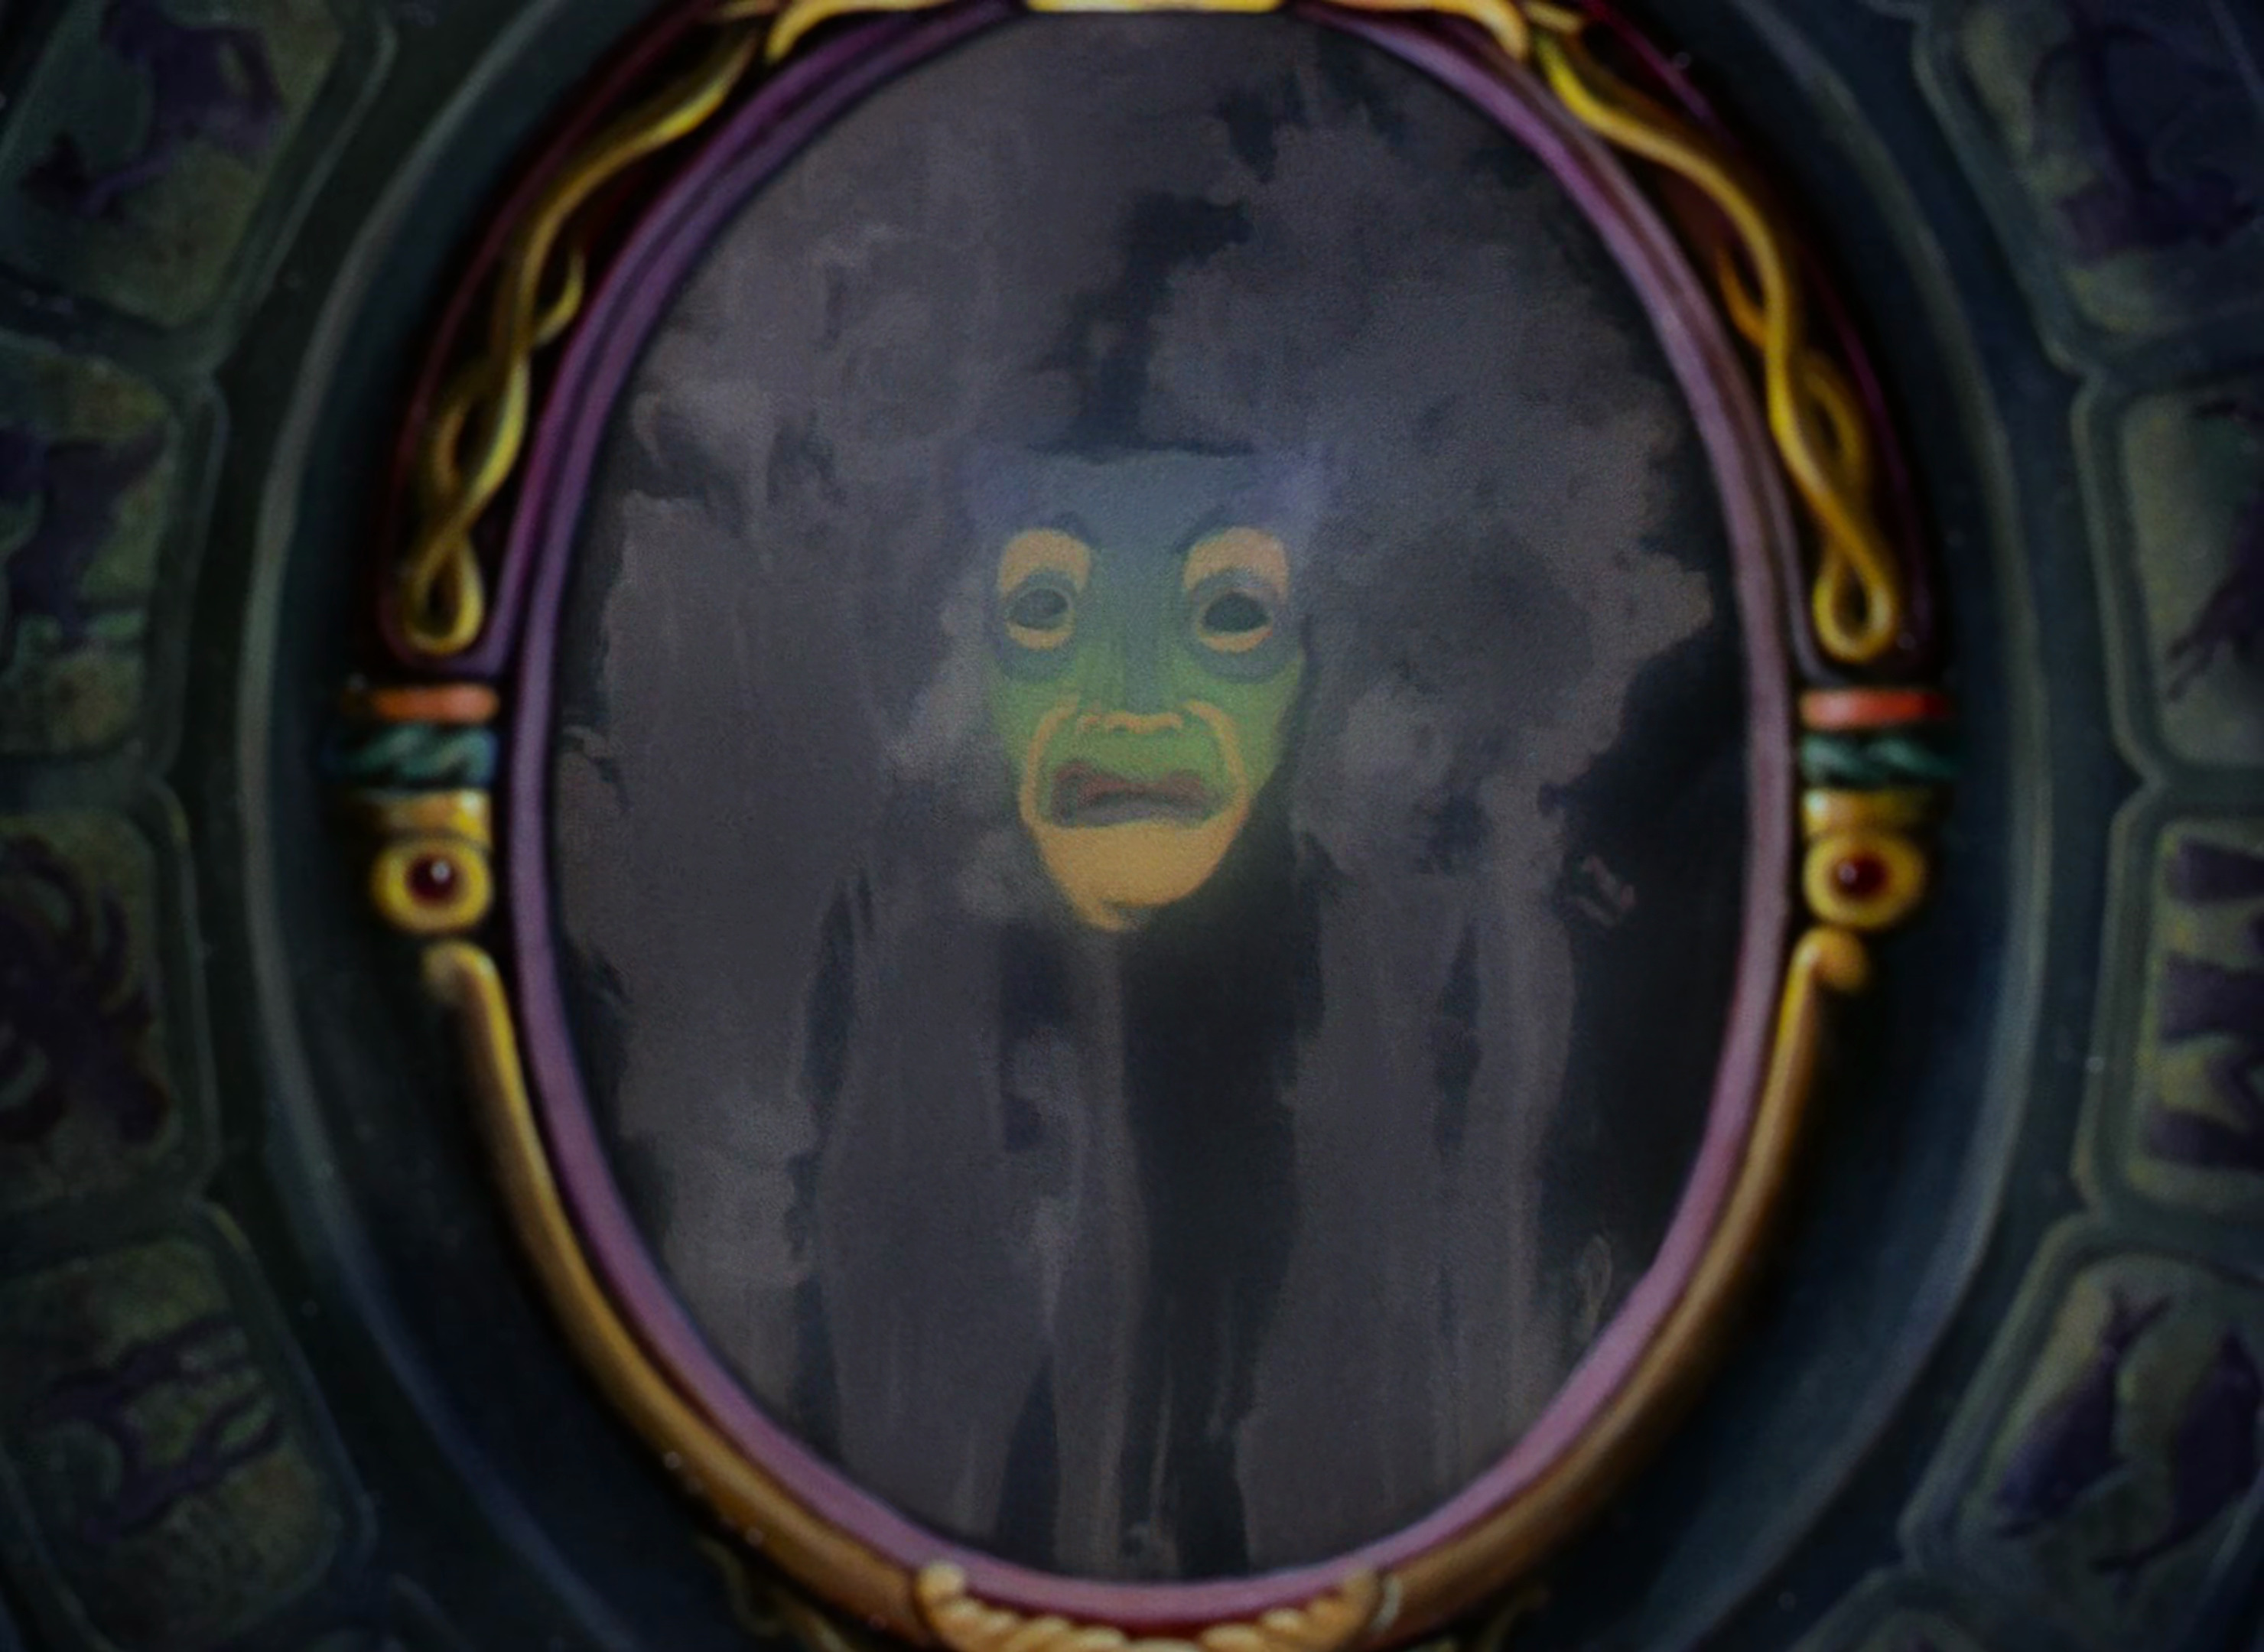
The reason I wanted to test this out is to try some new branding, something that really sticks in your mind. I'll be looking at other things, too. But this one was inspired by what I did for Jack Rollins, which in itself was inspired by Snow White's Magic Mirror.

I wanted to go for something quite creepy, similar to animator Rob Yulfo, who uses a photo of himself as a child, with altered levels, making it look creepy as all hell. It really sticks in your head (and haunts the hell out of you)

I'll try a bunch of different things and see what feels right.