Thursday, 11 April 2013

Weekly Challenges 1-6

In the interest of convenience , I'm putting all the challenges into this one post.

WEEK 1
3D Graphics - 3DS Max has a selection of shapes available, from the Teapot to the Cube, they are all there at your disposal!

Advanced Geometry
Standard Geometry

Graphics and Design - Character Design, using a mixture of human and animal characteristics. But also, mixing two animals together.
 As always, the Gull comes into play (it is the CMANIM trademark, after all), mixed with Human traits. The top-middle image has muscle structure to show how the face would be structured. Also, the skull structure of a Gull beside it.
Underneath has the profile view, the eyes are very human in shape, but larger and more central to the side of the head.
A mixture of an Ant and a Cat created a hybrid/bastardisation of science, I call "The Cant". The eyes have been replaced by antennae and the whiskers more akin to mandibles.

Video Concepts - We were tasked with Storyboarding and filming a journey to the Student Hub.
A section of the film, just a small piece to make uploading faster, plus, the quality is poor.

WEEK 2 - 3D graphics
Creating a CD player to texture. We had graphics to add to the model, but I was unable to get it to work. This is a problem I am only just getting past (see the Hoverboard post)
Graphics & Design
COSTUME DESIGN
A male design of a Law Enforcer with a Bionic arm. This particular task was creating a costume with a very strong silhouette. The shoulder pads/trenchcoat and Bionic arm give that effect. 

A female law enforcer in riot gear. Beside the character, diagrams of the riot shield showing the handles and alternate helmets, plus the Precinct logo.
 Using photos of cyberpunk police officers, I looked at common features and made a list of them. These were used to design the above character.

VIDEO CONCEPTS


Using a lamp post and some editing, the group created a simple, yet fun, effect!

WEEK 3
3D Graphics

Texturing using Diffuse/Bump/Speculation maps.

I was genuinely impressed with how this came out, especially because the viewport image is just a plane. All the detail is added through the material editor.

Graphics and design

Vehicle design.
We were given the brief of making a space craft for exploration. I used the Jaguar XJ220 as a heavy inspiration.
The car itself is very futuristic in shape, but it still just looked like a car.

Taking the roof shape of the Jaguar, I redesigned the bottom of the craft. I added Gravity boosters and recon items on the rear. The underneath has heat shielding (like NASA space shuttles). It ended up looking very much like the Star Trek Next Generation Goddard shuttle.

Another early inspiration, the Xwing fighter from Star Wars.

Video Concepts

Colour Correction to create a "Sin City" effect, removing all colours except for one. A pretty cool effect!


Week 4
3D Graphics - Set Lightng.
Set lighting! Including a duck!

Spotlighting with shadows enabled
Graphics and Design
Composition

Focusing in on certain areas to create a composition.


Video Concepts

Blue Screen! Cameras! MADNESS!
A fight scene between James (www.foreverrendering.wordpress.com) having a fight.


Week 5
3D Graphics -Depth Of Field/Motion Blur


The shape contains a Motion Blur. The effect was done completely within 3DS Max
 Mid Depth Of Field
 Far Depth Of Field
Near Depth Of Field

Graphics and Design - Image Composition!


Week 6
3D Graphics


Adding video to a TV in 3Ds Max
A glass (soon to be filled with ice and Whiskey), carrying on the staged lighting.


Graphics and Design
Contrasting colours, complimentary colours.


 This gent is wearing complementary coloured clothing! I added depth to the image by using 3 tones of colour. Highlight, main colour, shadow.

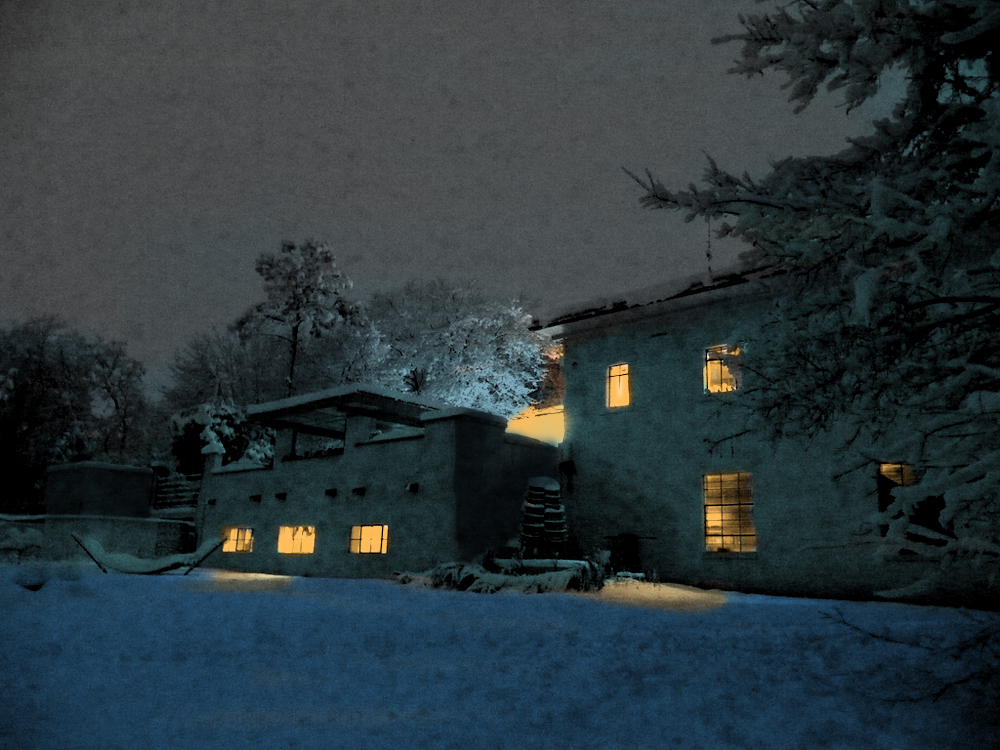
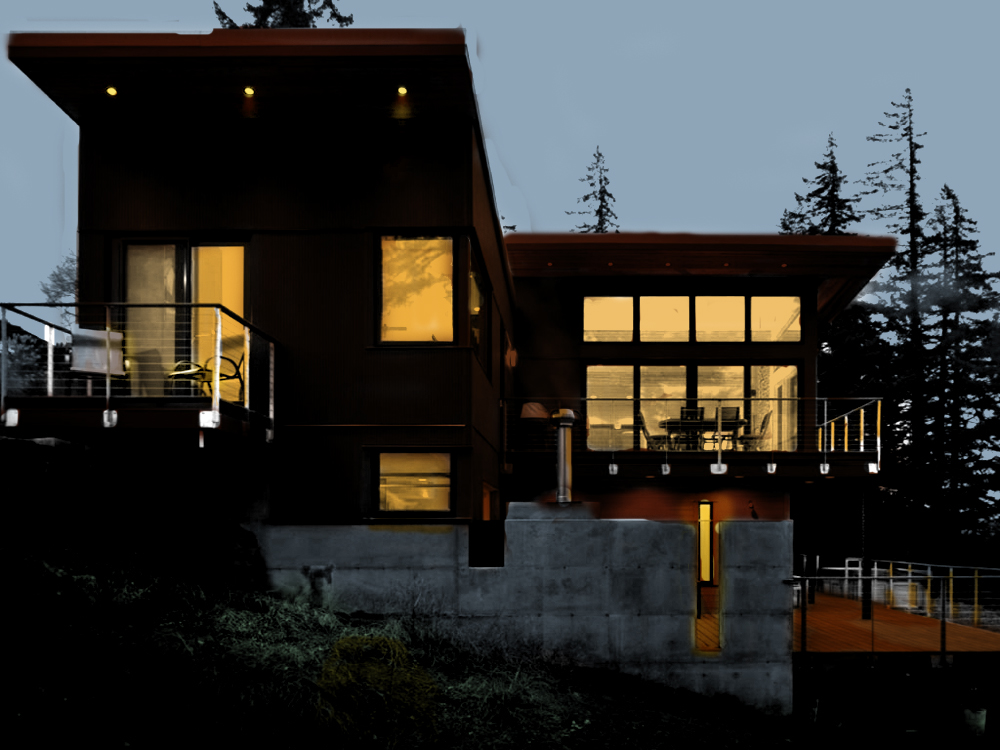
Using the Photoshop Blend Modes, I coloured the images (which where black and white). The top image I made to convey warmth, everything involved with the house is a warm shade, reds/browns and yellows. While the outer walls and grass and sky are colder tones. The bottom image is mainly cold, the heat shown from the windows, with some splash light on the ground.

Thursday, 4 April 2013

Hoverboard render test

Rendering off the Hoverboard.
I need to use the Blown Apart image map, you know the ones, like this:
http://i228.photobucket.com/albums/ee39/RawNuts/texture_character.jpg

But here's my render!

Wednesday, 3 April 2013

Casting/Modelling

I know that I've been doing digital sculpting and modeling, but how about some PHYSICAL MODELLING?!?!
I've shown before that I make terrain for wargaming, but I recently got some Epoxy resin and RTV silicone. This is used for modeling! (I also purchased some non-de script modeling clay, the kind you'd use at school, i.e. Plasticine)
Using masters of items (here I used Concrete barricades and barrels, at 28mm scale) I covered them in RTV silicone rubber and left to dry for a couple hours. I removed the masters and was left with this beauty!

The Epoxy resin is a two parter. Mixing them both together gives you a few minutes pot life, so get working fast! I filled the mould and left to set for about an hour (it takes about 15 mins to harden, but they are still a bit soft/squishy, so I left a little longer)
This was the result! Looking great, they just need cleaned down (file off the leftover flash and imperfections)
 This was the main one I wanted to look great. The Imperial seal from Warhammer 40K, it's only on one barrel (as it was the only one from the master barrels) and it's come out looking great. The detail of the barrel has damage, bumps and cuts, but that is part of that particular barrel, not an issue with the mould.
More detailed items, like weapons and character models will be done in a 2-part mould, which takes longer to make, but it gives you a great finish and all the required detail.

Photoshop!

I run another blog for a tabletop wargame I play, Games Workshop's Necromunda.
On the other blog, I write up battle reports in the style of News Feeds from the Dome's news group, The Dead End Gazette. www.necrodeadend.blogspot.com
I've used a couple images in some posts, some are simple images I found online, used in the Necromunda rule books, but one I made using an image I found of a derelict factory. I added graffiti, a simple tag claiming "Lanegan Lives" and the Imperial seal crossed out.
Using a Gaussian Blur in the background to keep the focus on the foreground, I used the multiply tool to add  the graffiti.

 This is the original image I found on Tumblr, through Google Images.


The way I made the graffiti is the same way I added the colour to these photos (which were some of the University weekly challenges)

This was adding colour to the images, using complementary colours. I also added varying shades of the colours to add highlights and shadowing. A technique I use for model painting:
Note the breastplate and the sash/material from the belt, plus the hair. Also, the same technique is used to create camouflage (3-tone urban camo is used on this model)
I used a Gaussian blur on this character to give the effect of glowing material (duplicated several times) and I created a Tron inspired outfit.

Sunday, 31 March 2013

Making the Skateboard Model

Making the Skateboard model, I tried my best to follow the earlier video (It's in time lapse, you see)

 I made a box, then edited the vertices to create a curved edge. Adjusting the scale, I made the end bow out a little (this is important to give the nose and tail the right shape)
 From there. I highlighted the ends and rotated them slightly. This added the kink you see in the side view.
I dipped the centre of the deck in slightly to give the correct shape of the deck (It's slightly concave, you see). Using the "Symmetry" tool from the drop down, I completed the shape of the deck.

From here, I will be texturing the model. This will give me the experience I need to create the Hoverboard. It is the same process, just the board is shaped slightly different. 

Friday, 29 March 2013

Skateboard model video.

This shows a set up for a complete skateboard. I can use this to help with making the Hoverboard.

http://www.youtube.com/watch?v=RcYZgKmX3DQ

Monday, 18 March 2013

Depth Of Field test

Using After Effects and two photographs, I put together a test piece.

I masked out a photograph of a skateboarder, then placed it onto a Background of a road.
Enabling a 3D layer, I moved the background back on the Z-axis, then scaled up to fill the frame.
Adding a camera with DOF enabled, I changed the focus to keep the skater crisp, blurring the background. I then keyframed a dolly, making the skater appear to move faster than the background itself.
This was just a piece I put together as proof of concept. It's an effect I plan to use on the final piece as a break away section, transitioning from scene to scene. In my mind, it would be done when introducing a character being interviewed; "Hi, I'm Chris" *Transition showing Chris on the hoverboard*

This effect is used in both film and game,
Film example, The Walking Dead Intro (AMC);
http://www.youtube.com/watch?annotation_id=annotation_651539&feature=iv&src_vid=O8W9qr7DB-o&v=yYveggi9zxI
Centipede running across shells and Prison pan at the end are good examples of this.

Game example, Infamous (PS3, Sucker Punch)
http://www.youtube.com/watch?v=MV45E6D47Hw
The Cutscenes in InFamous (And Infamous2) are done in a comic style, subtle animation for the character animation, backgrounds holding the more "In Your Face" animation. Using the different Planes, it adds great effect, adding depth to the 2D art.